API Setup Guide - Grvt Markets API Docs
A short and simple API Setup guide to get you rolling quick!
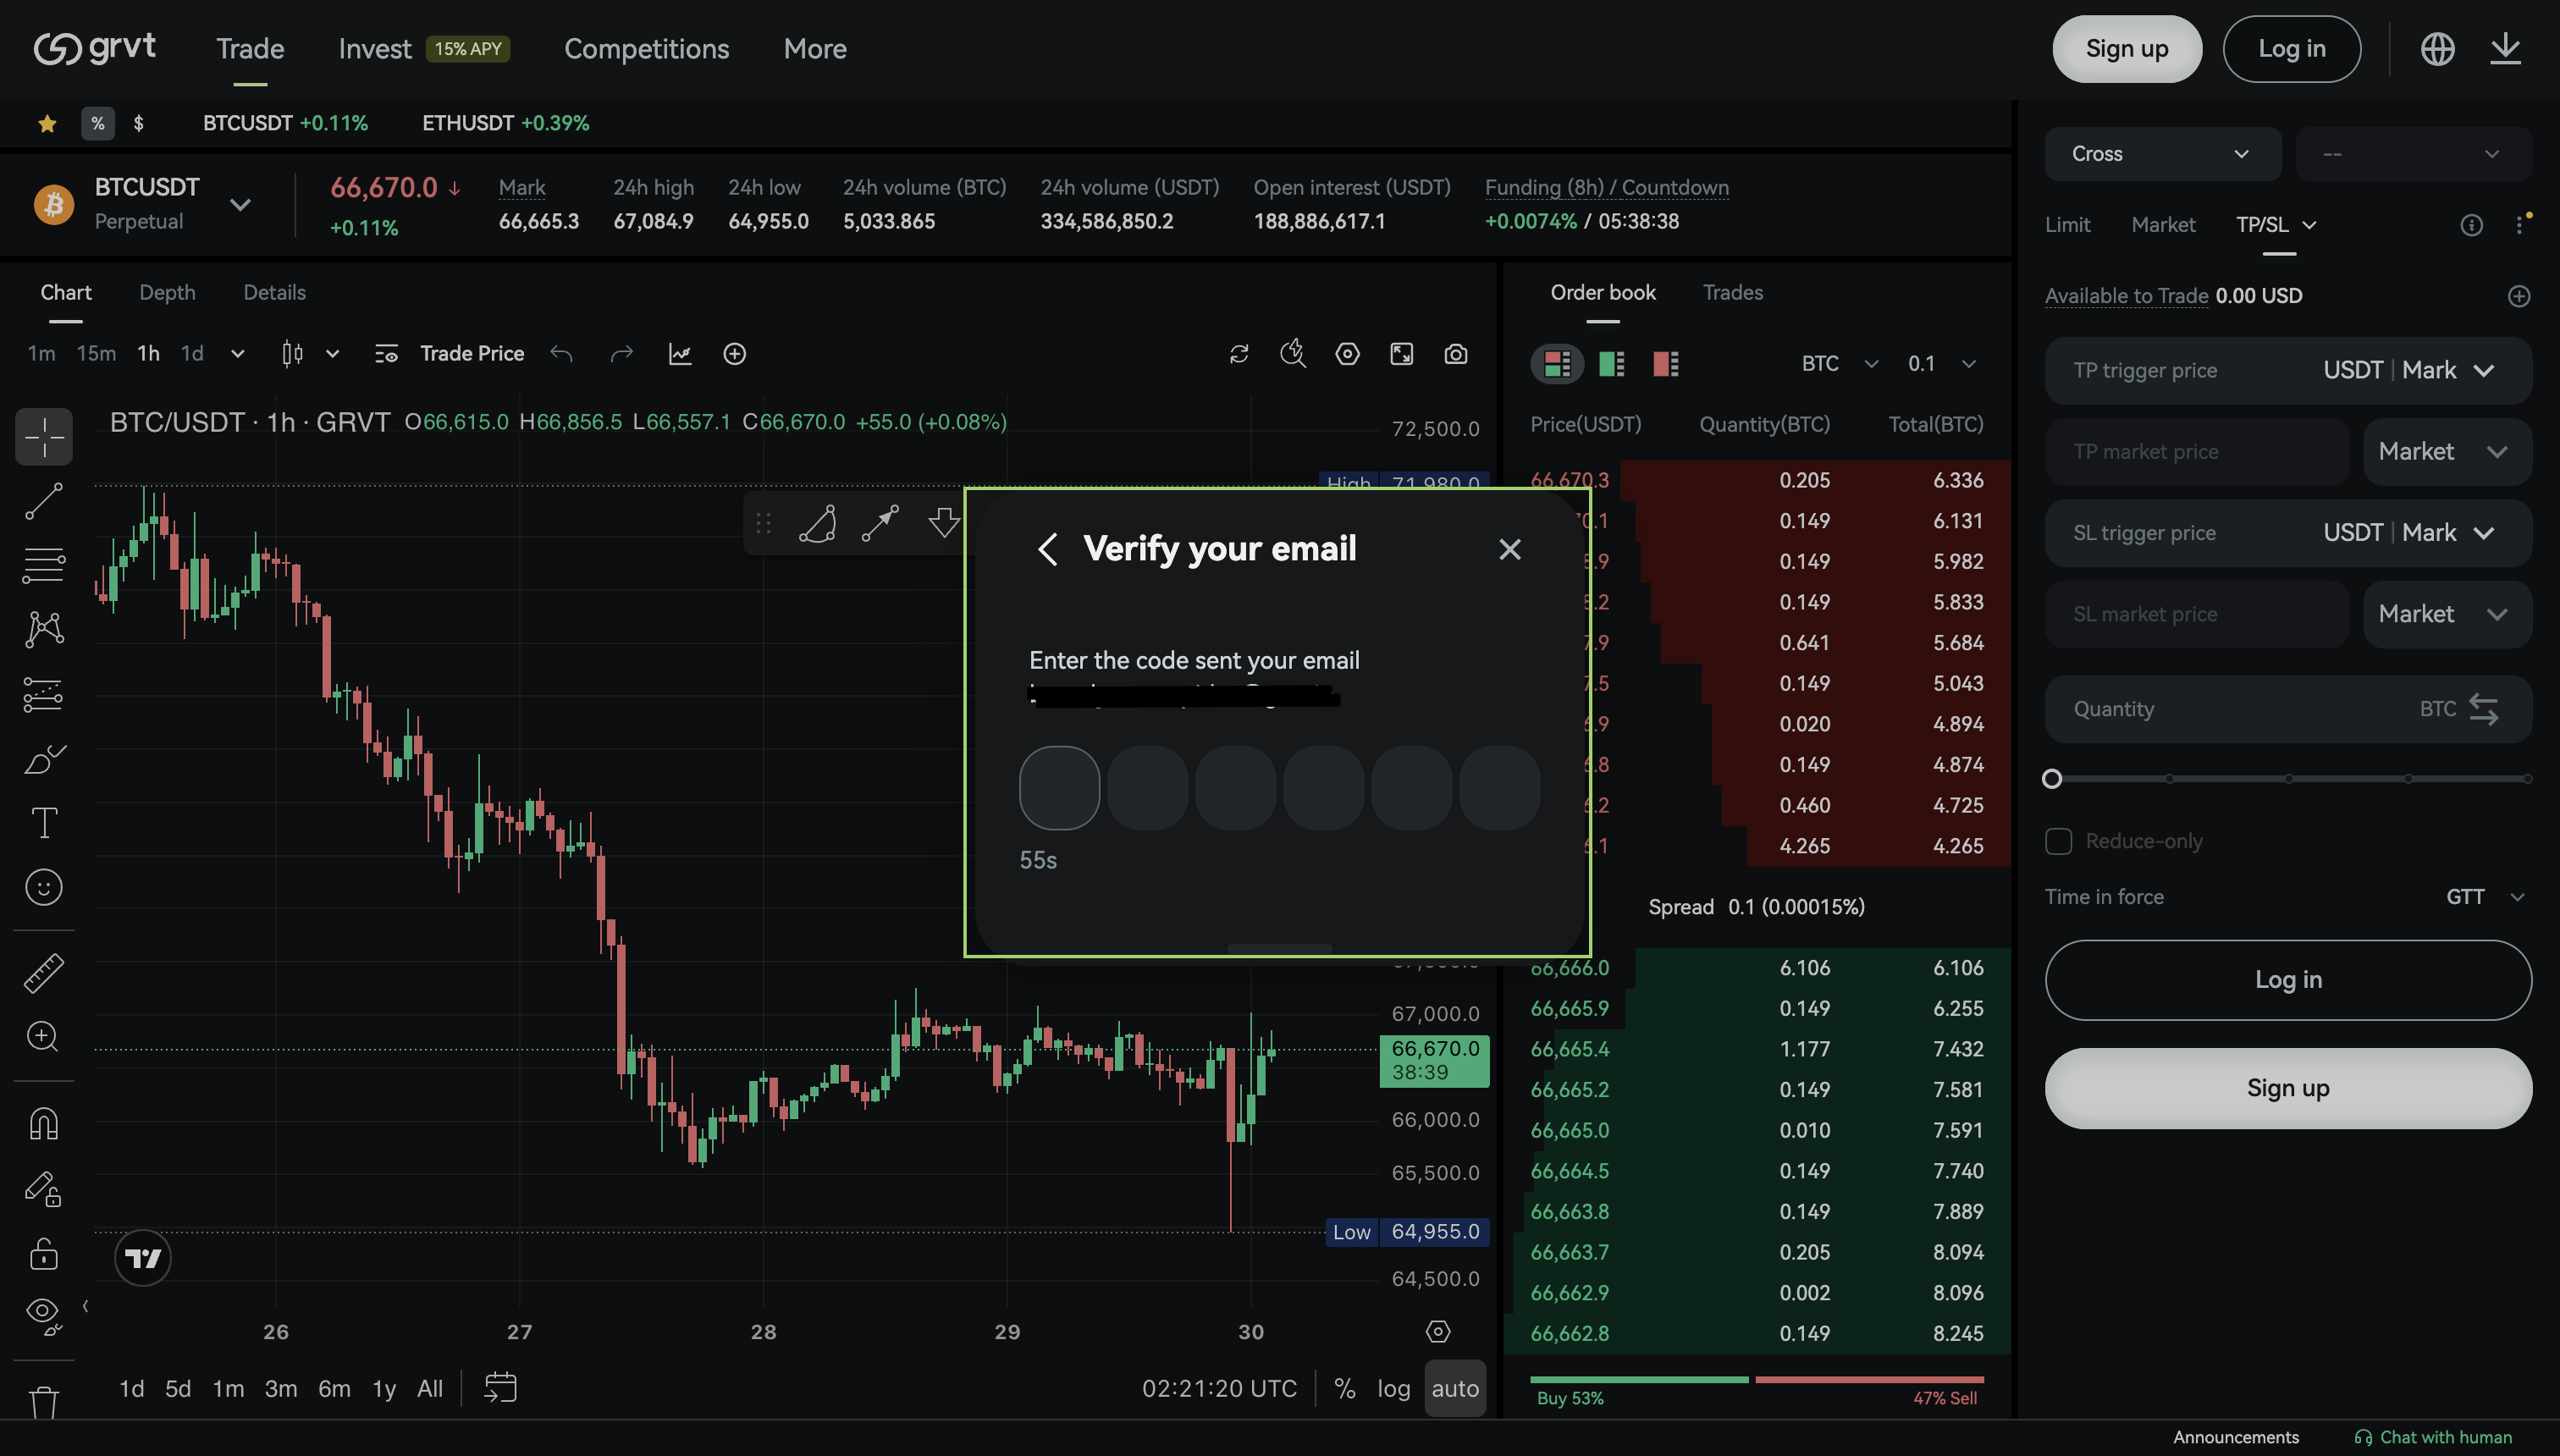
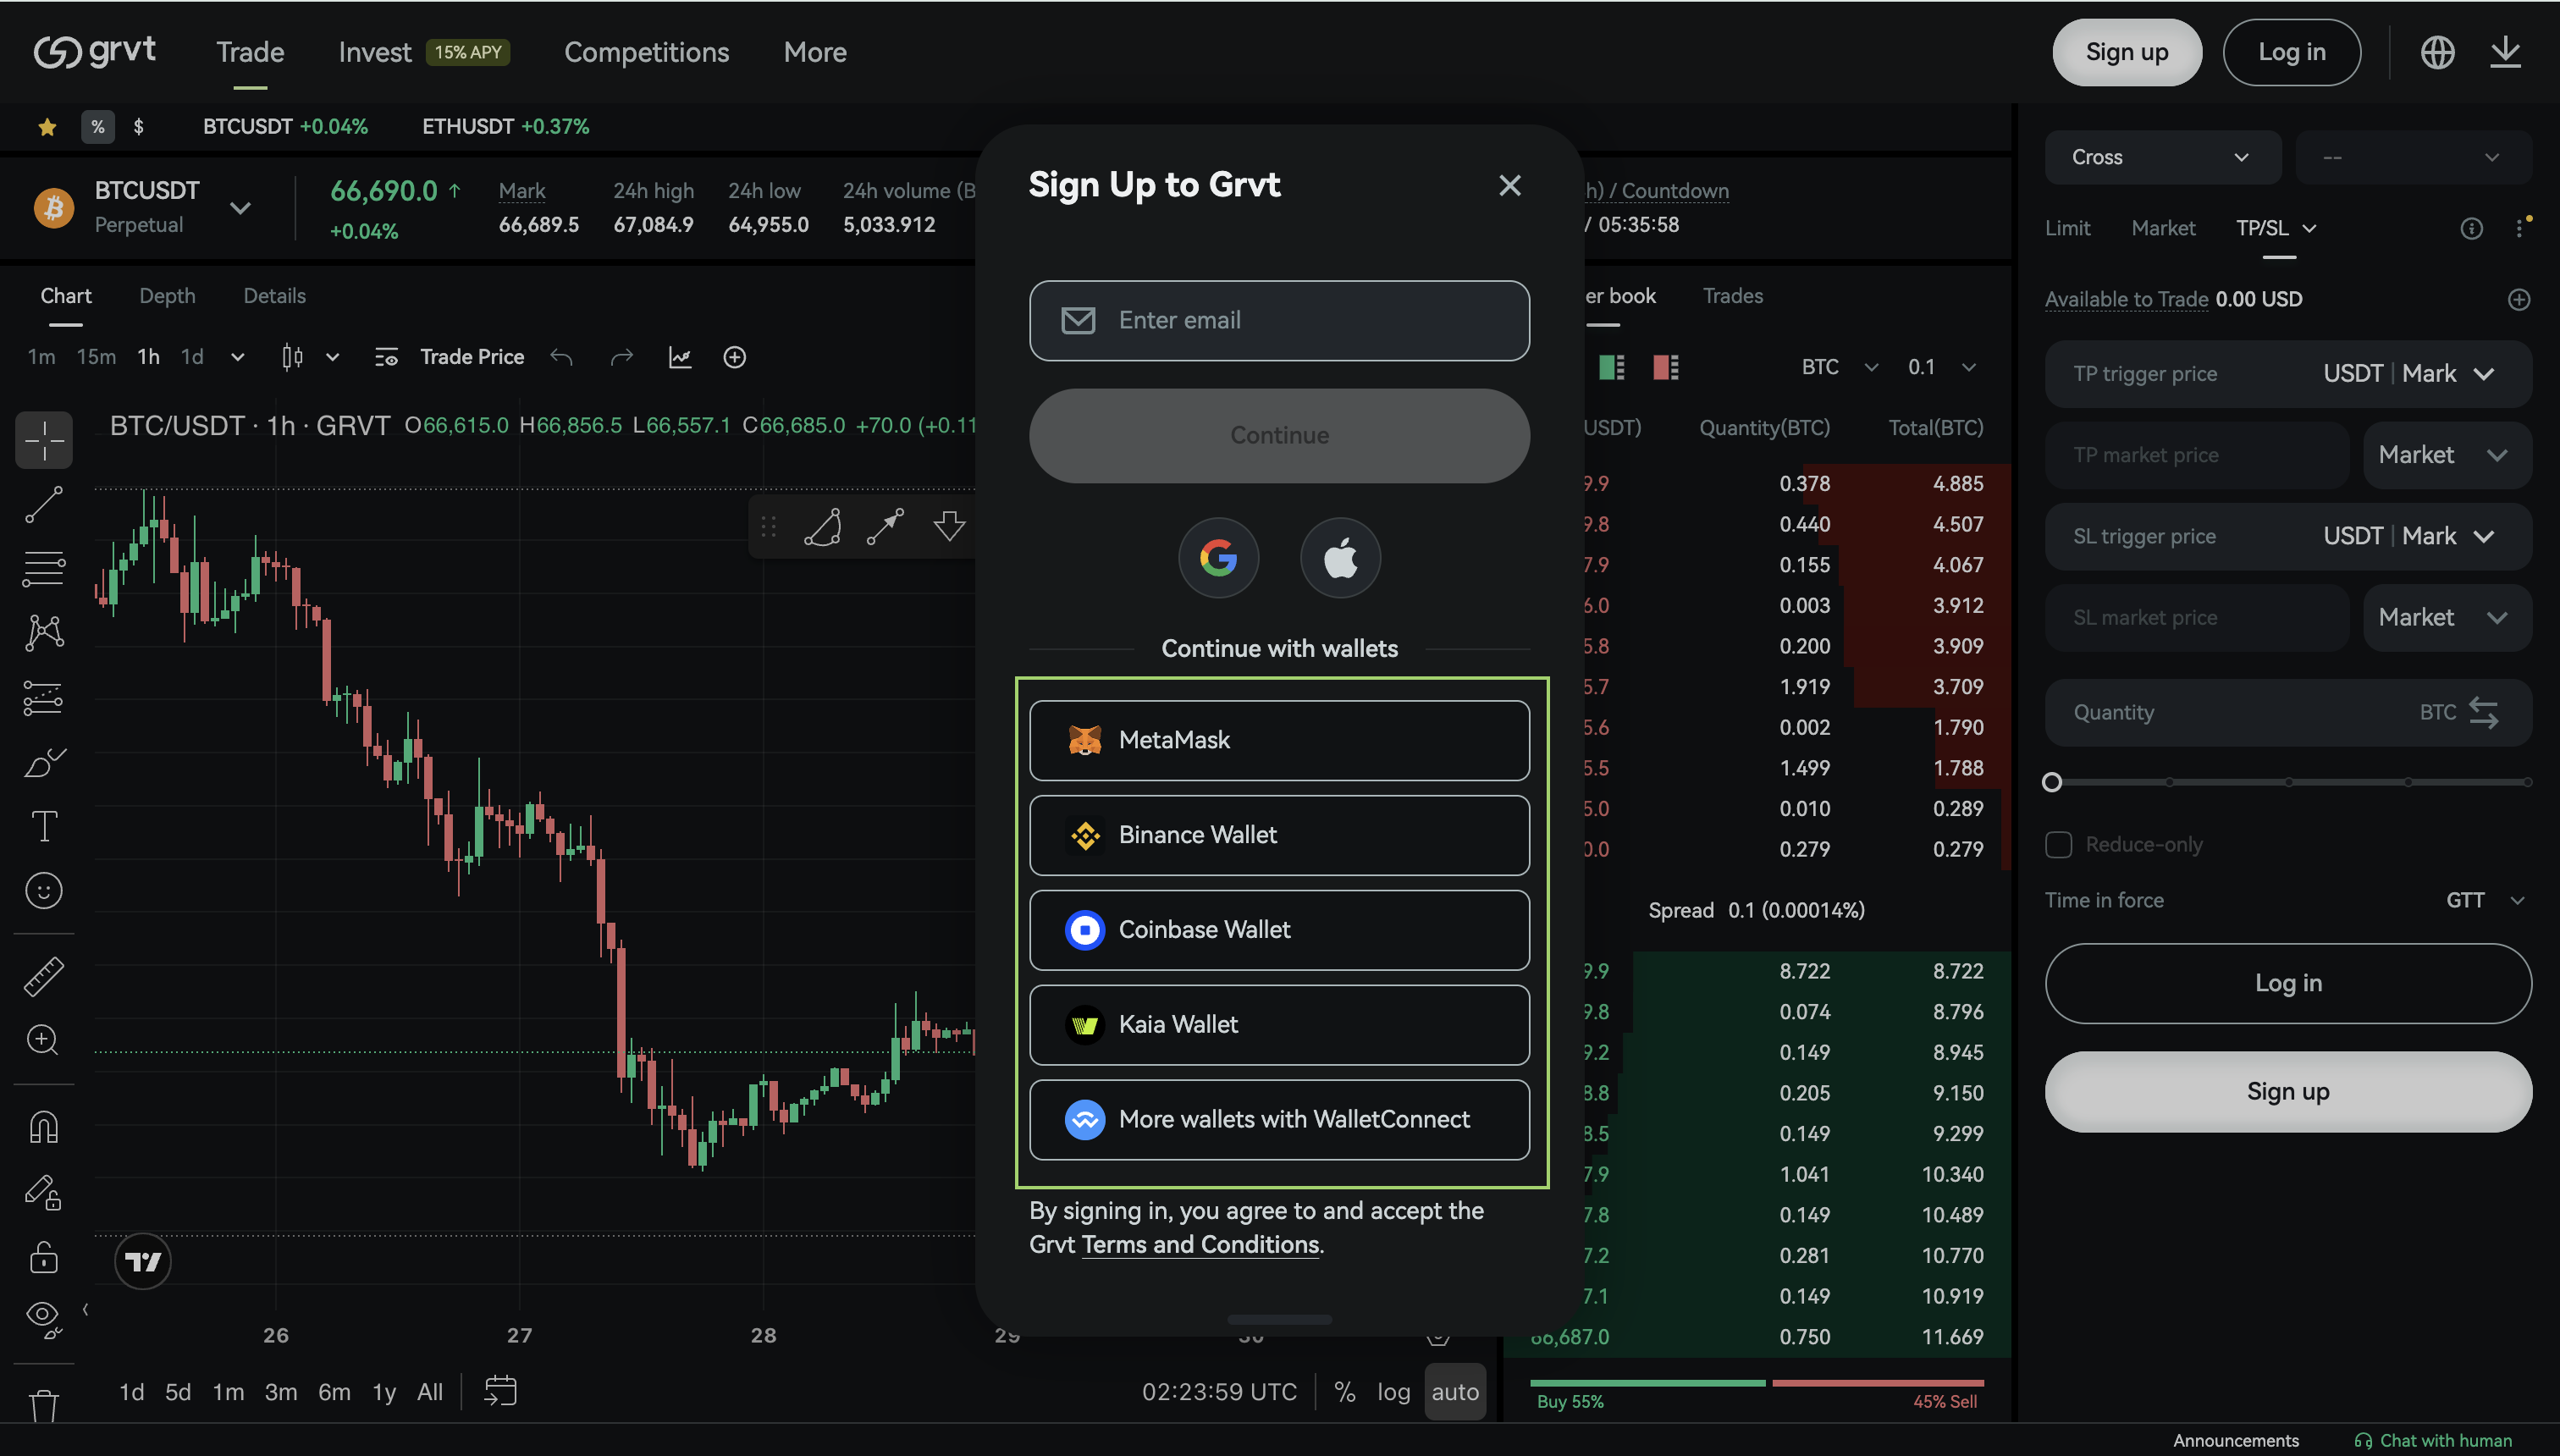
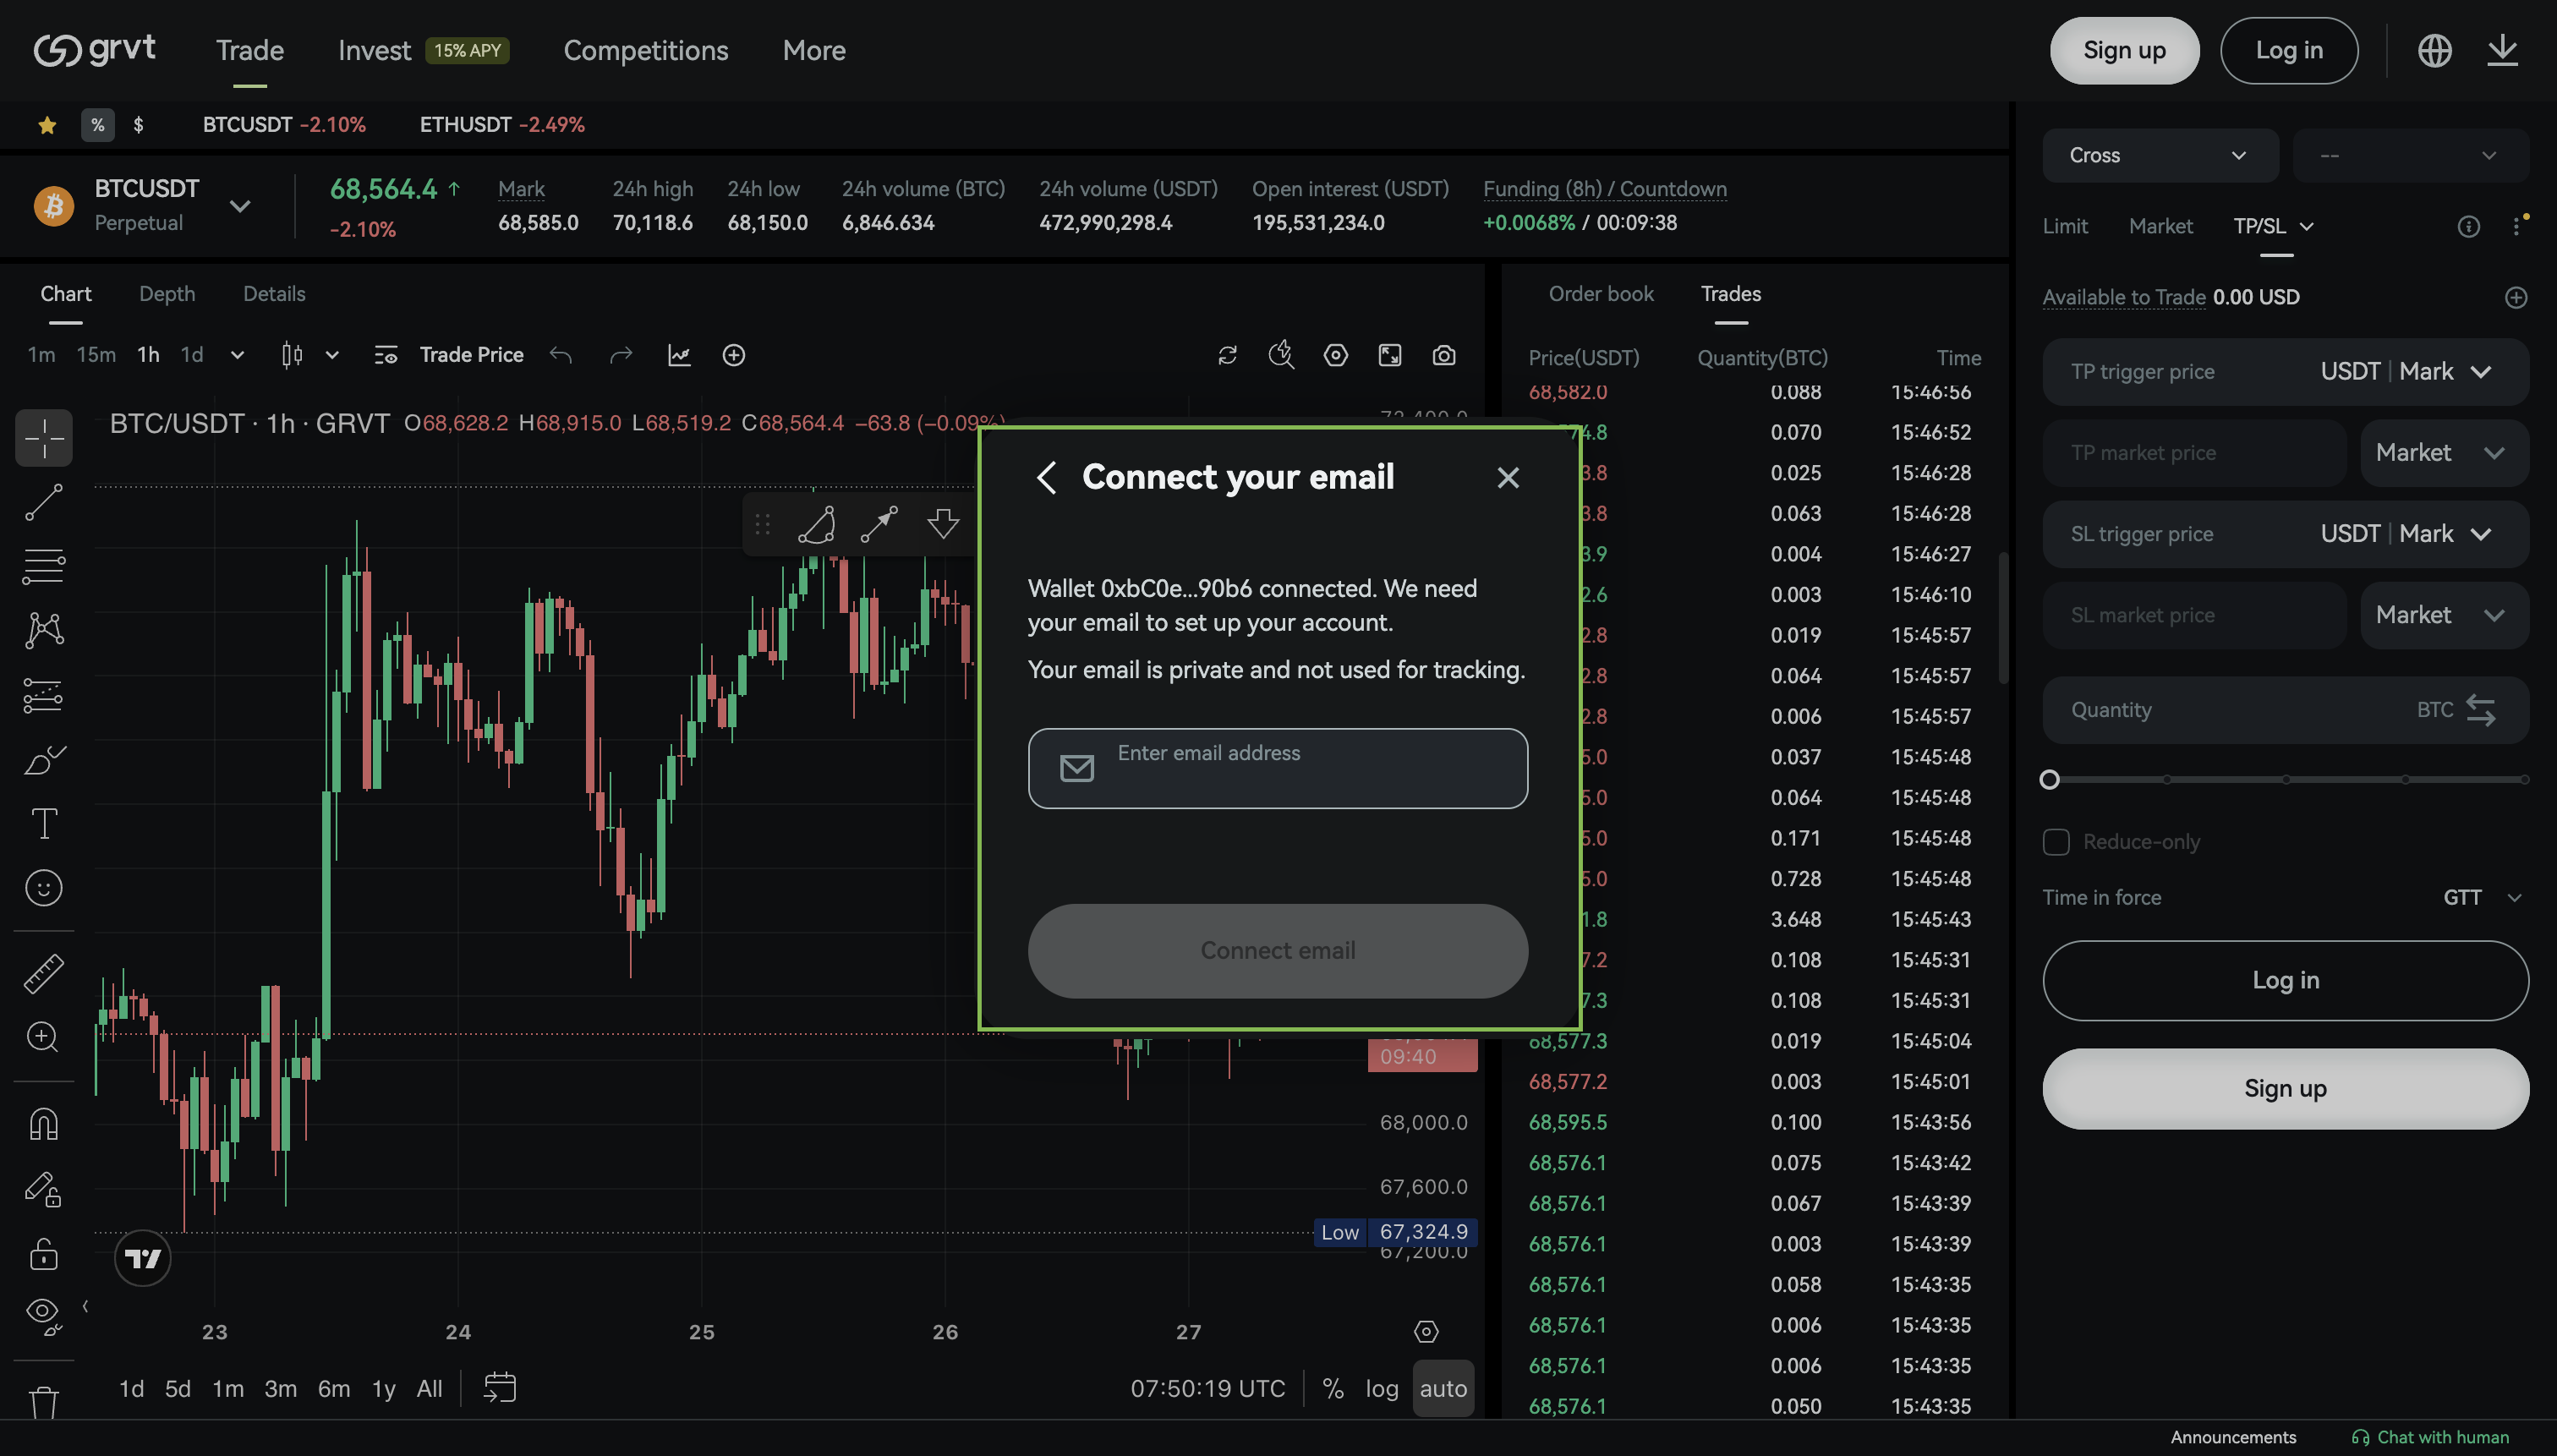
Step 1: Sign up an Account
You can sign up your account using email.
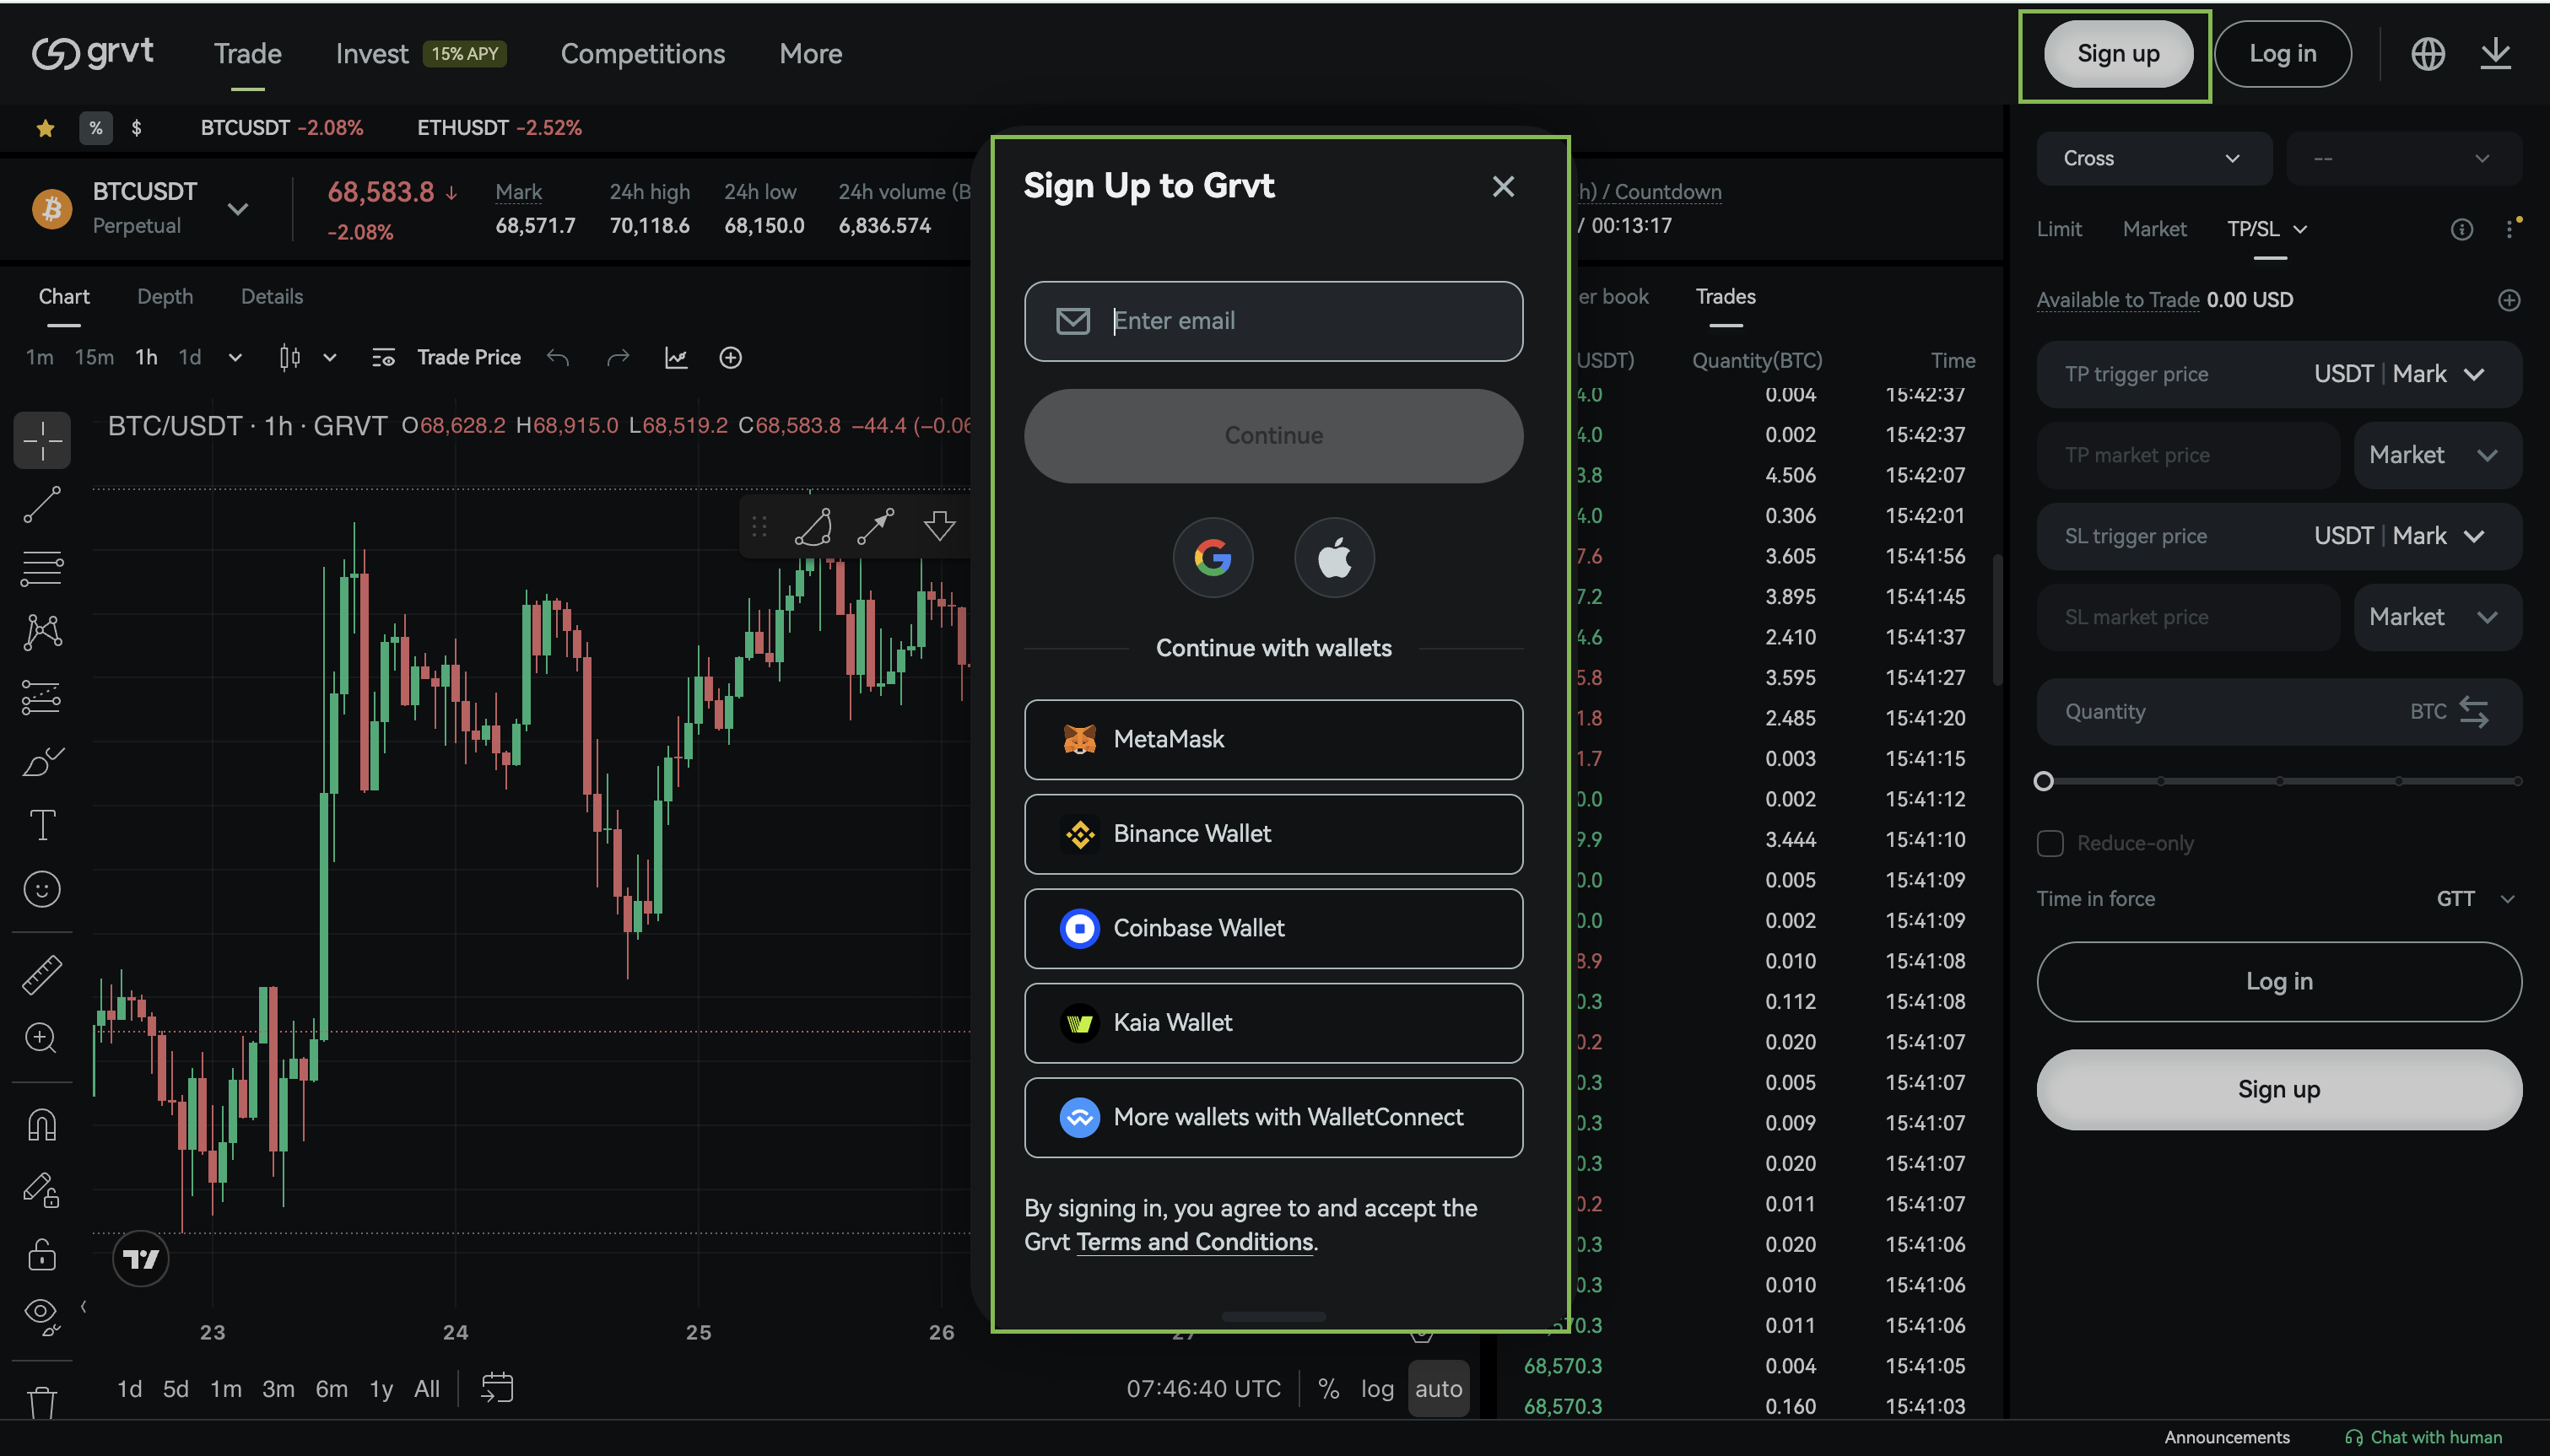
You can also connect your wallet to sign up
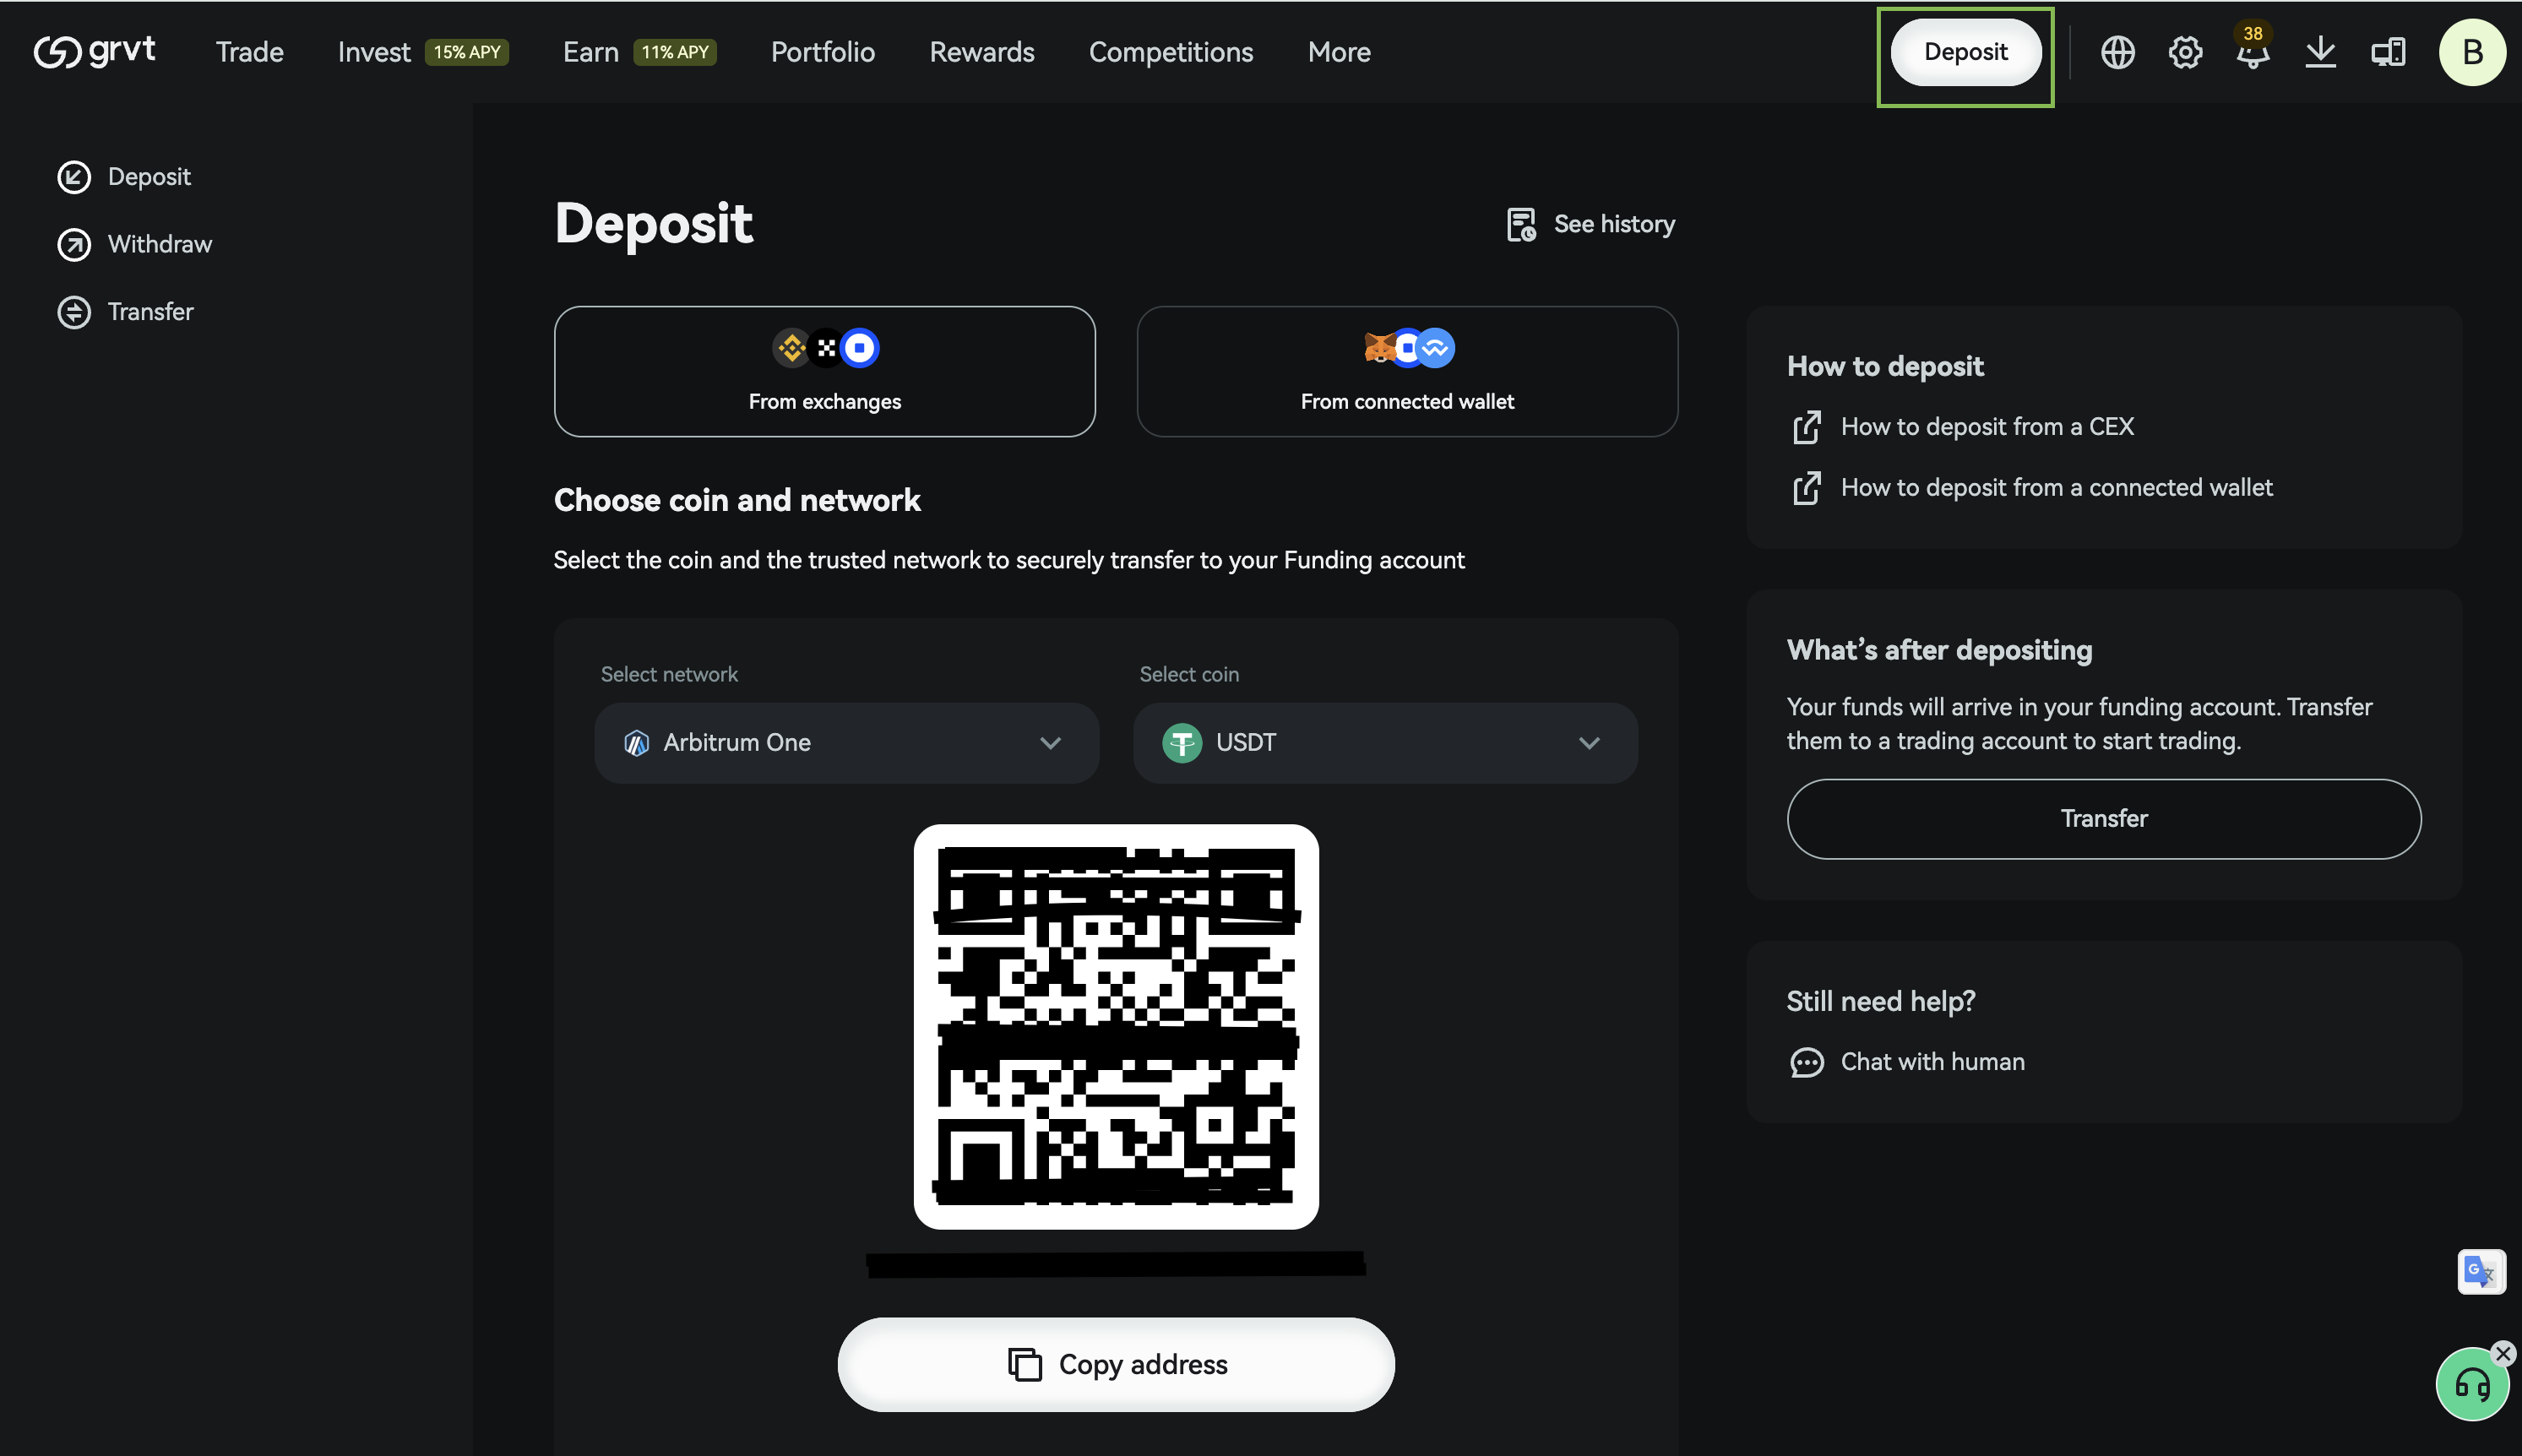
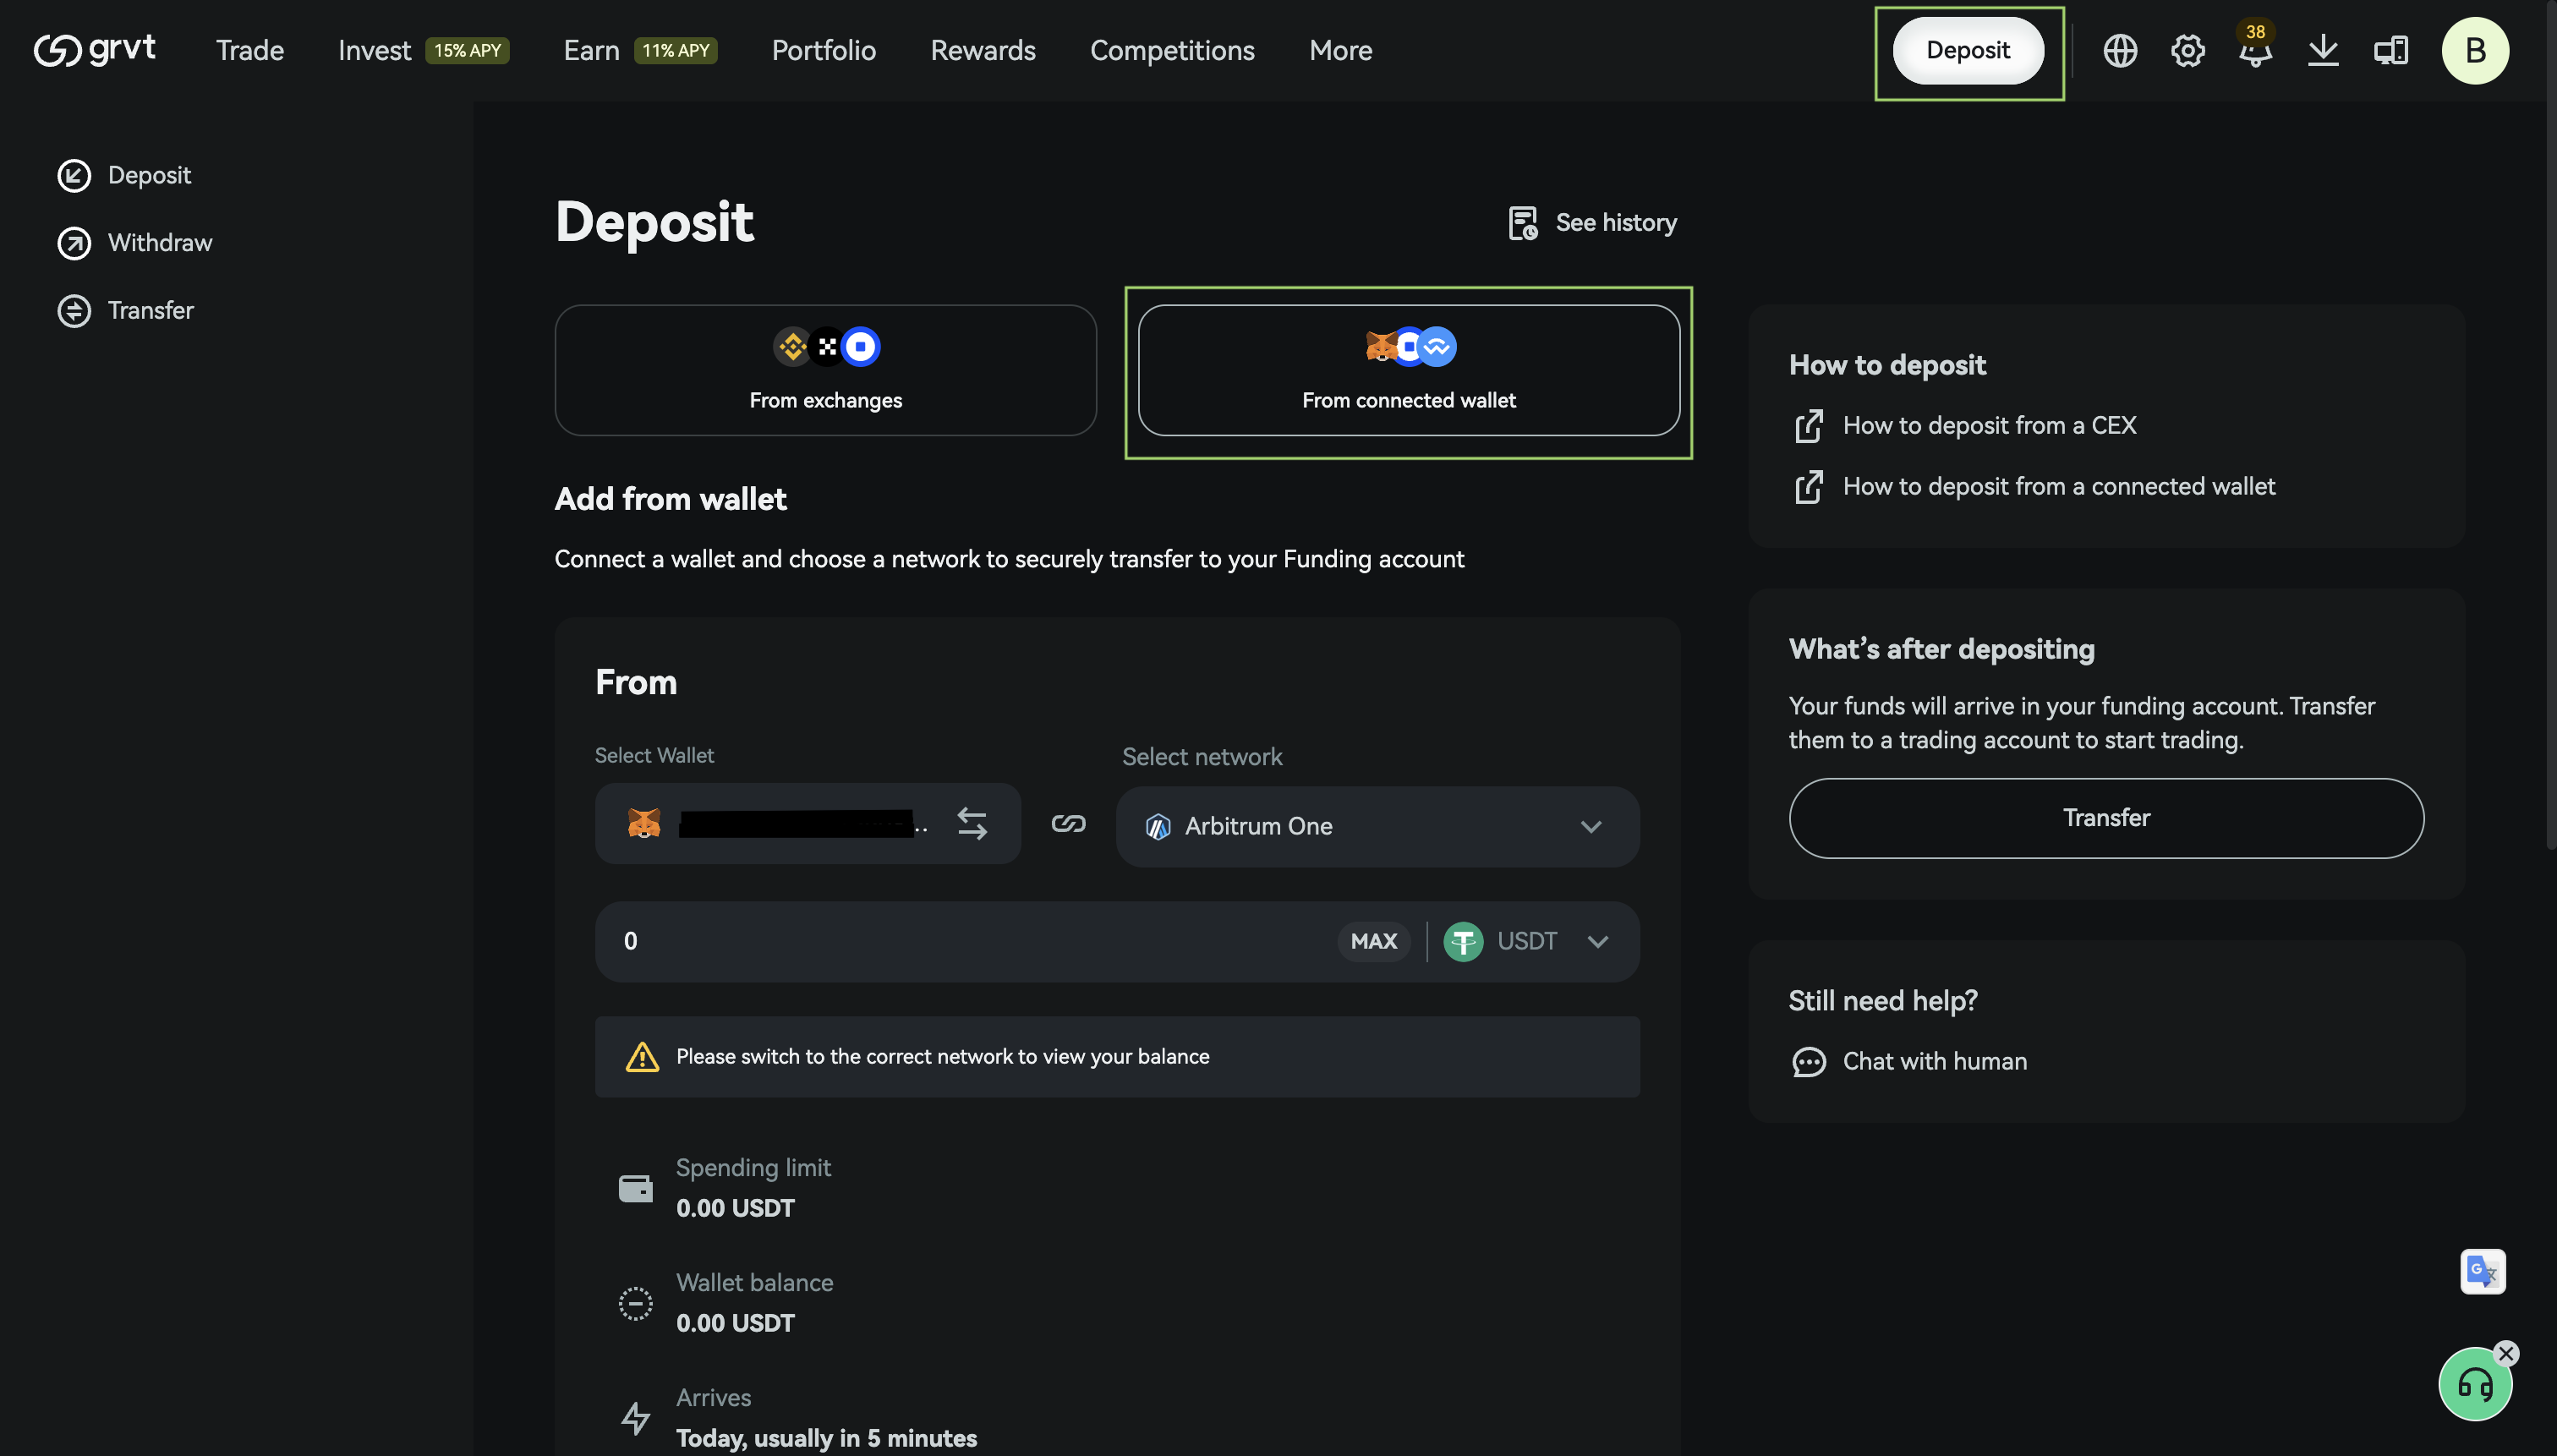
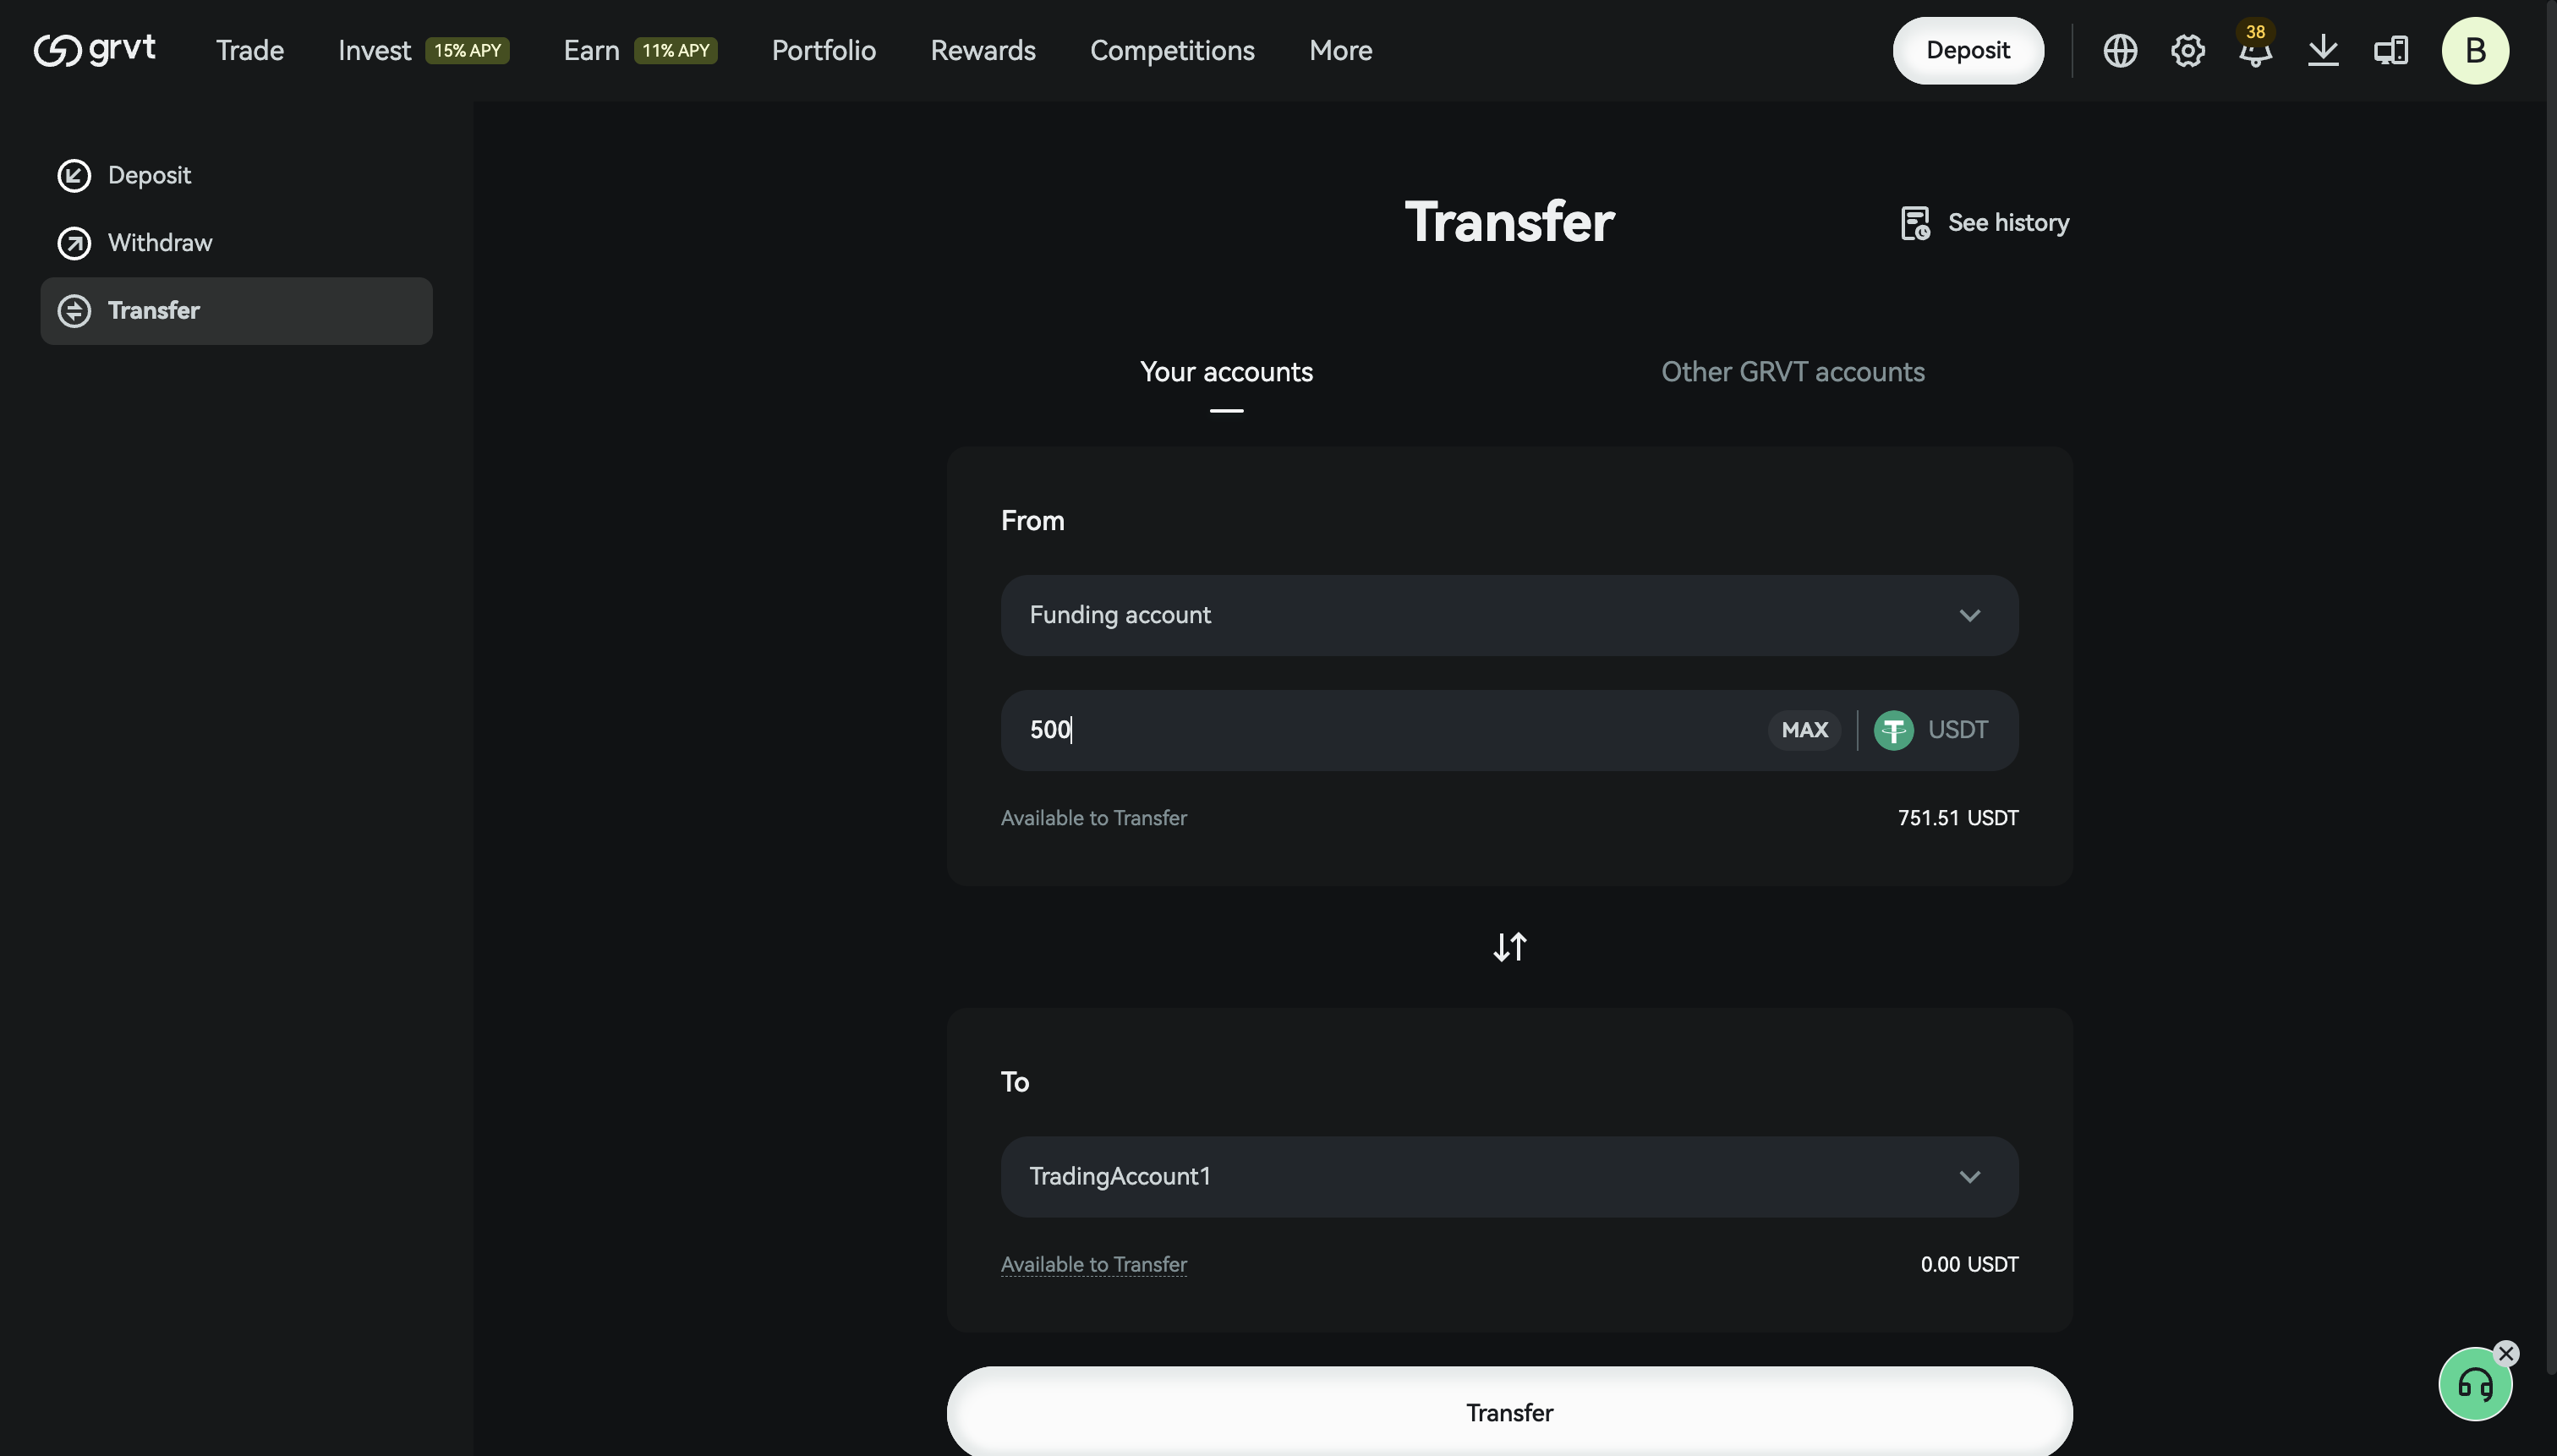
Step 2: Deposit Tokens & Transfer
You can click Deposit at the top and Deposit from other exchange or connected Wallet. You may visit this link to deposit.
-
Deposit from other exchanges
-
Deposit from connected wallet
-
Transfer tokens to your trading account here.
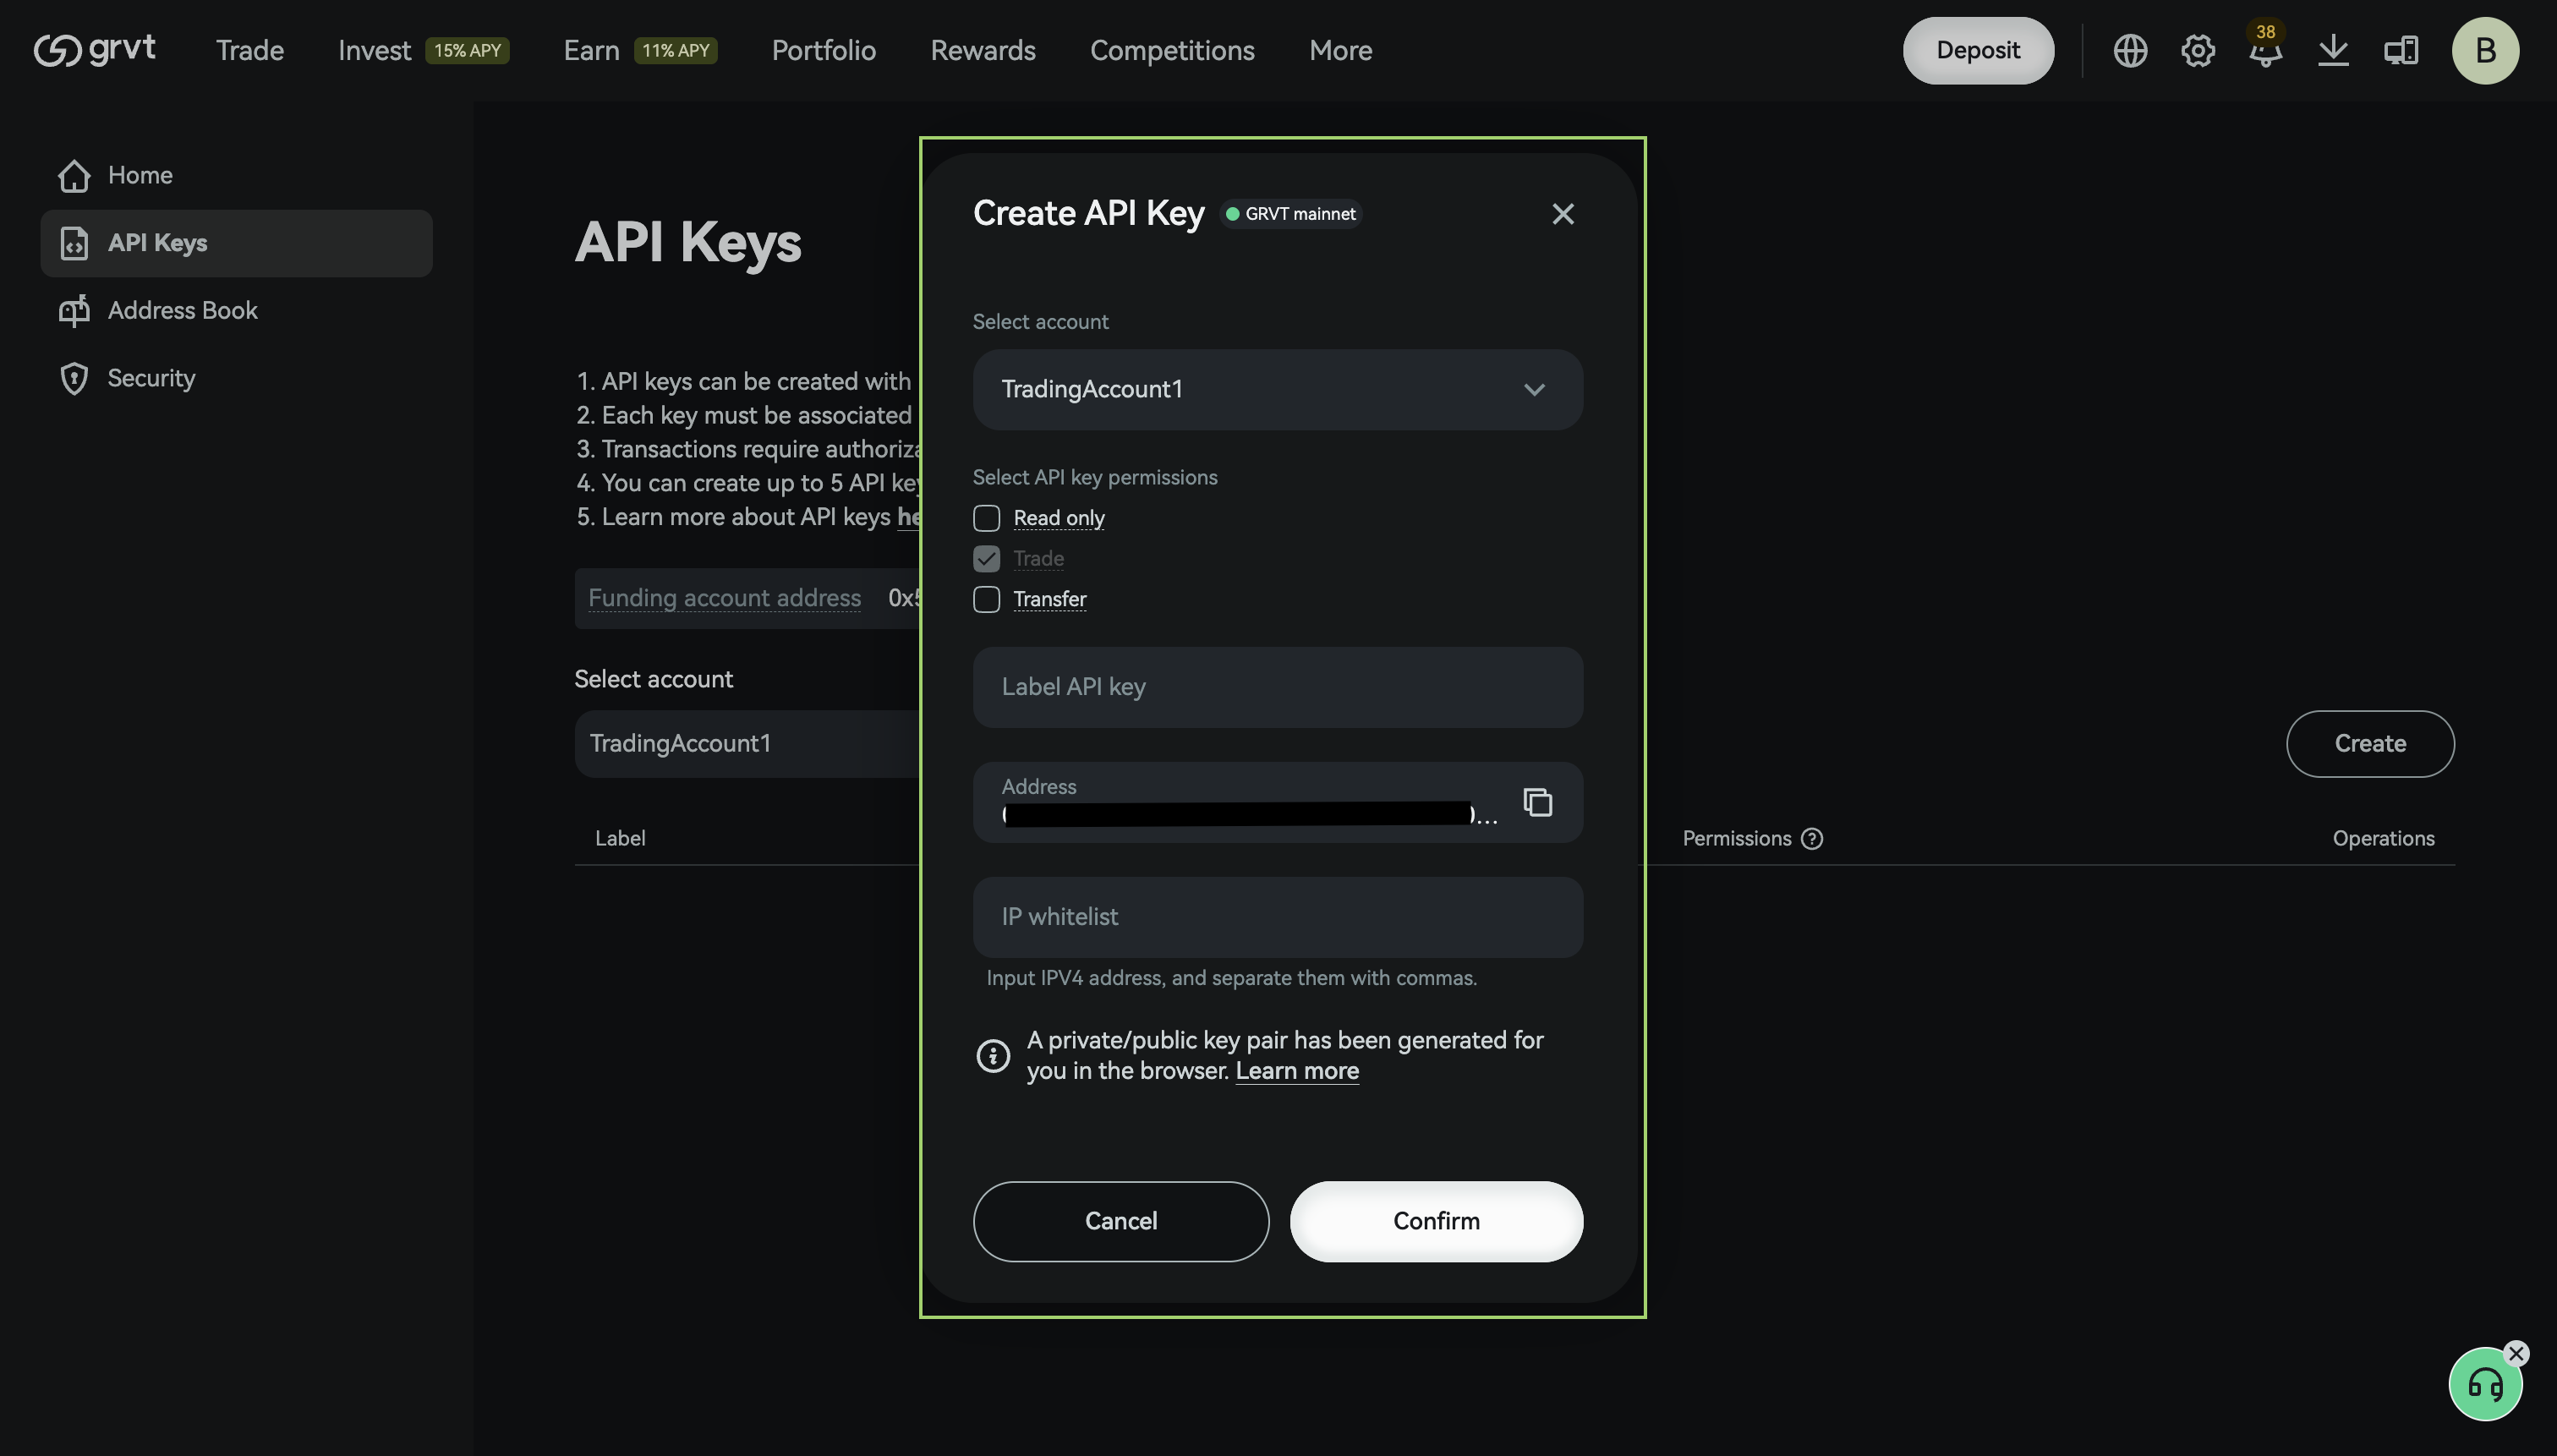
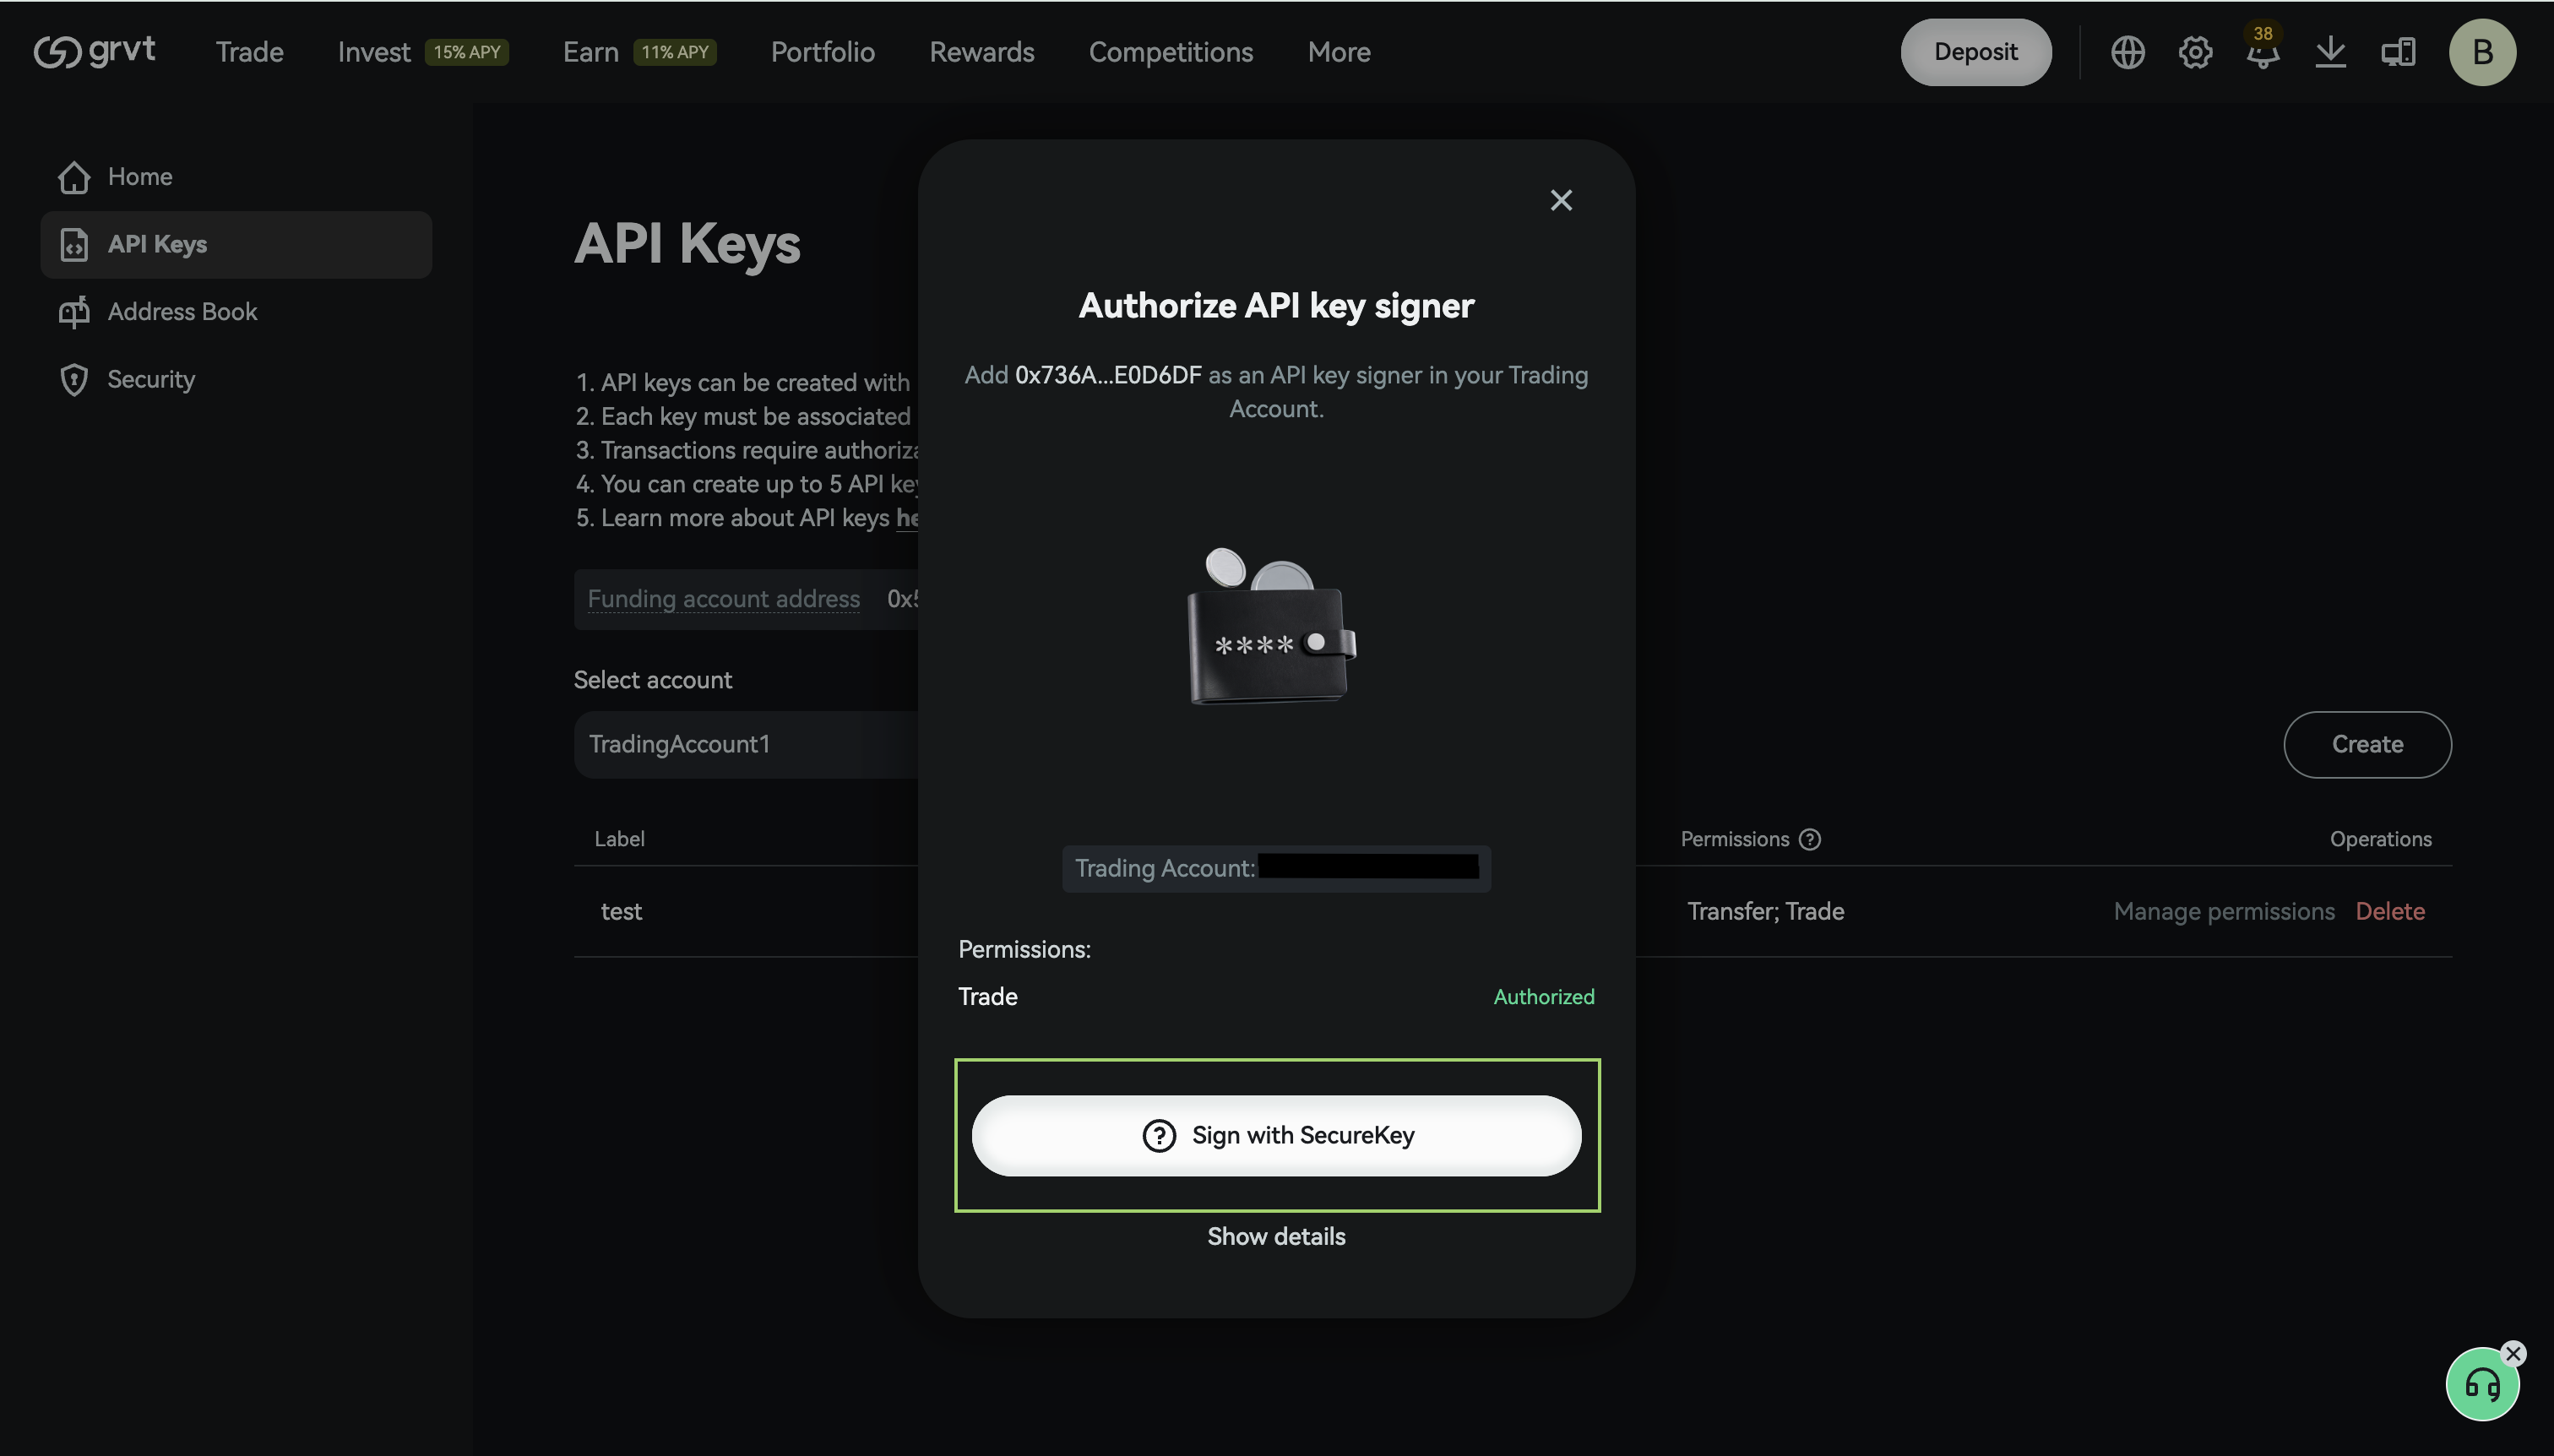
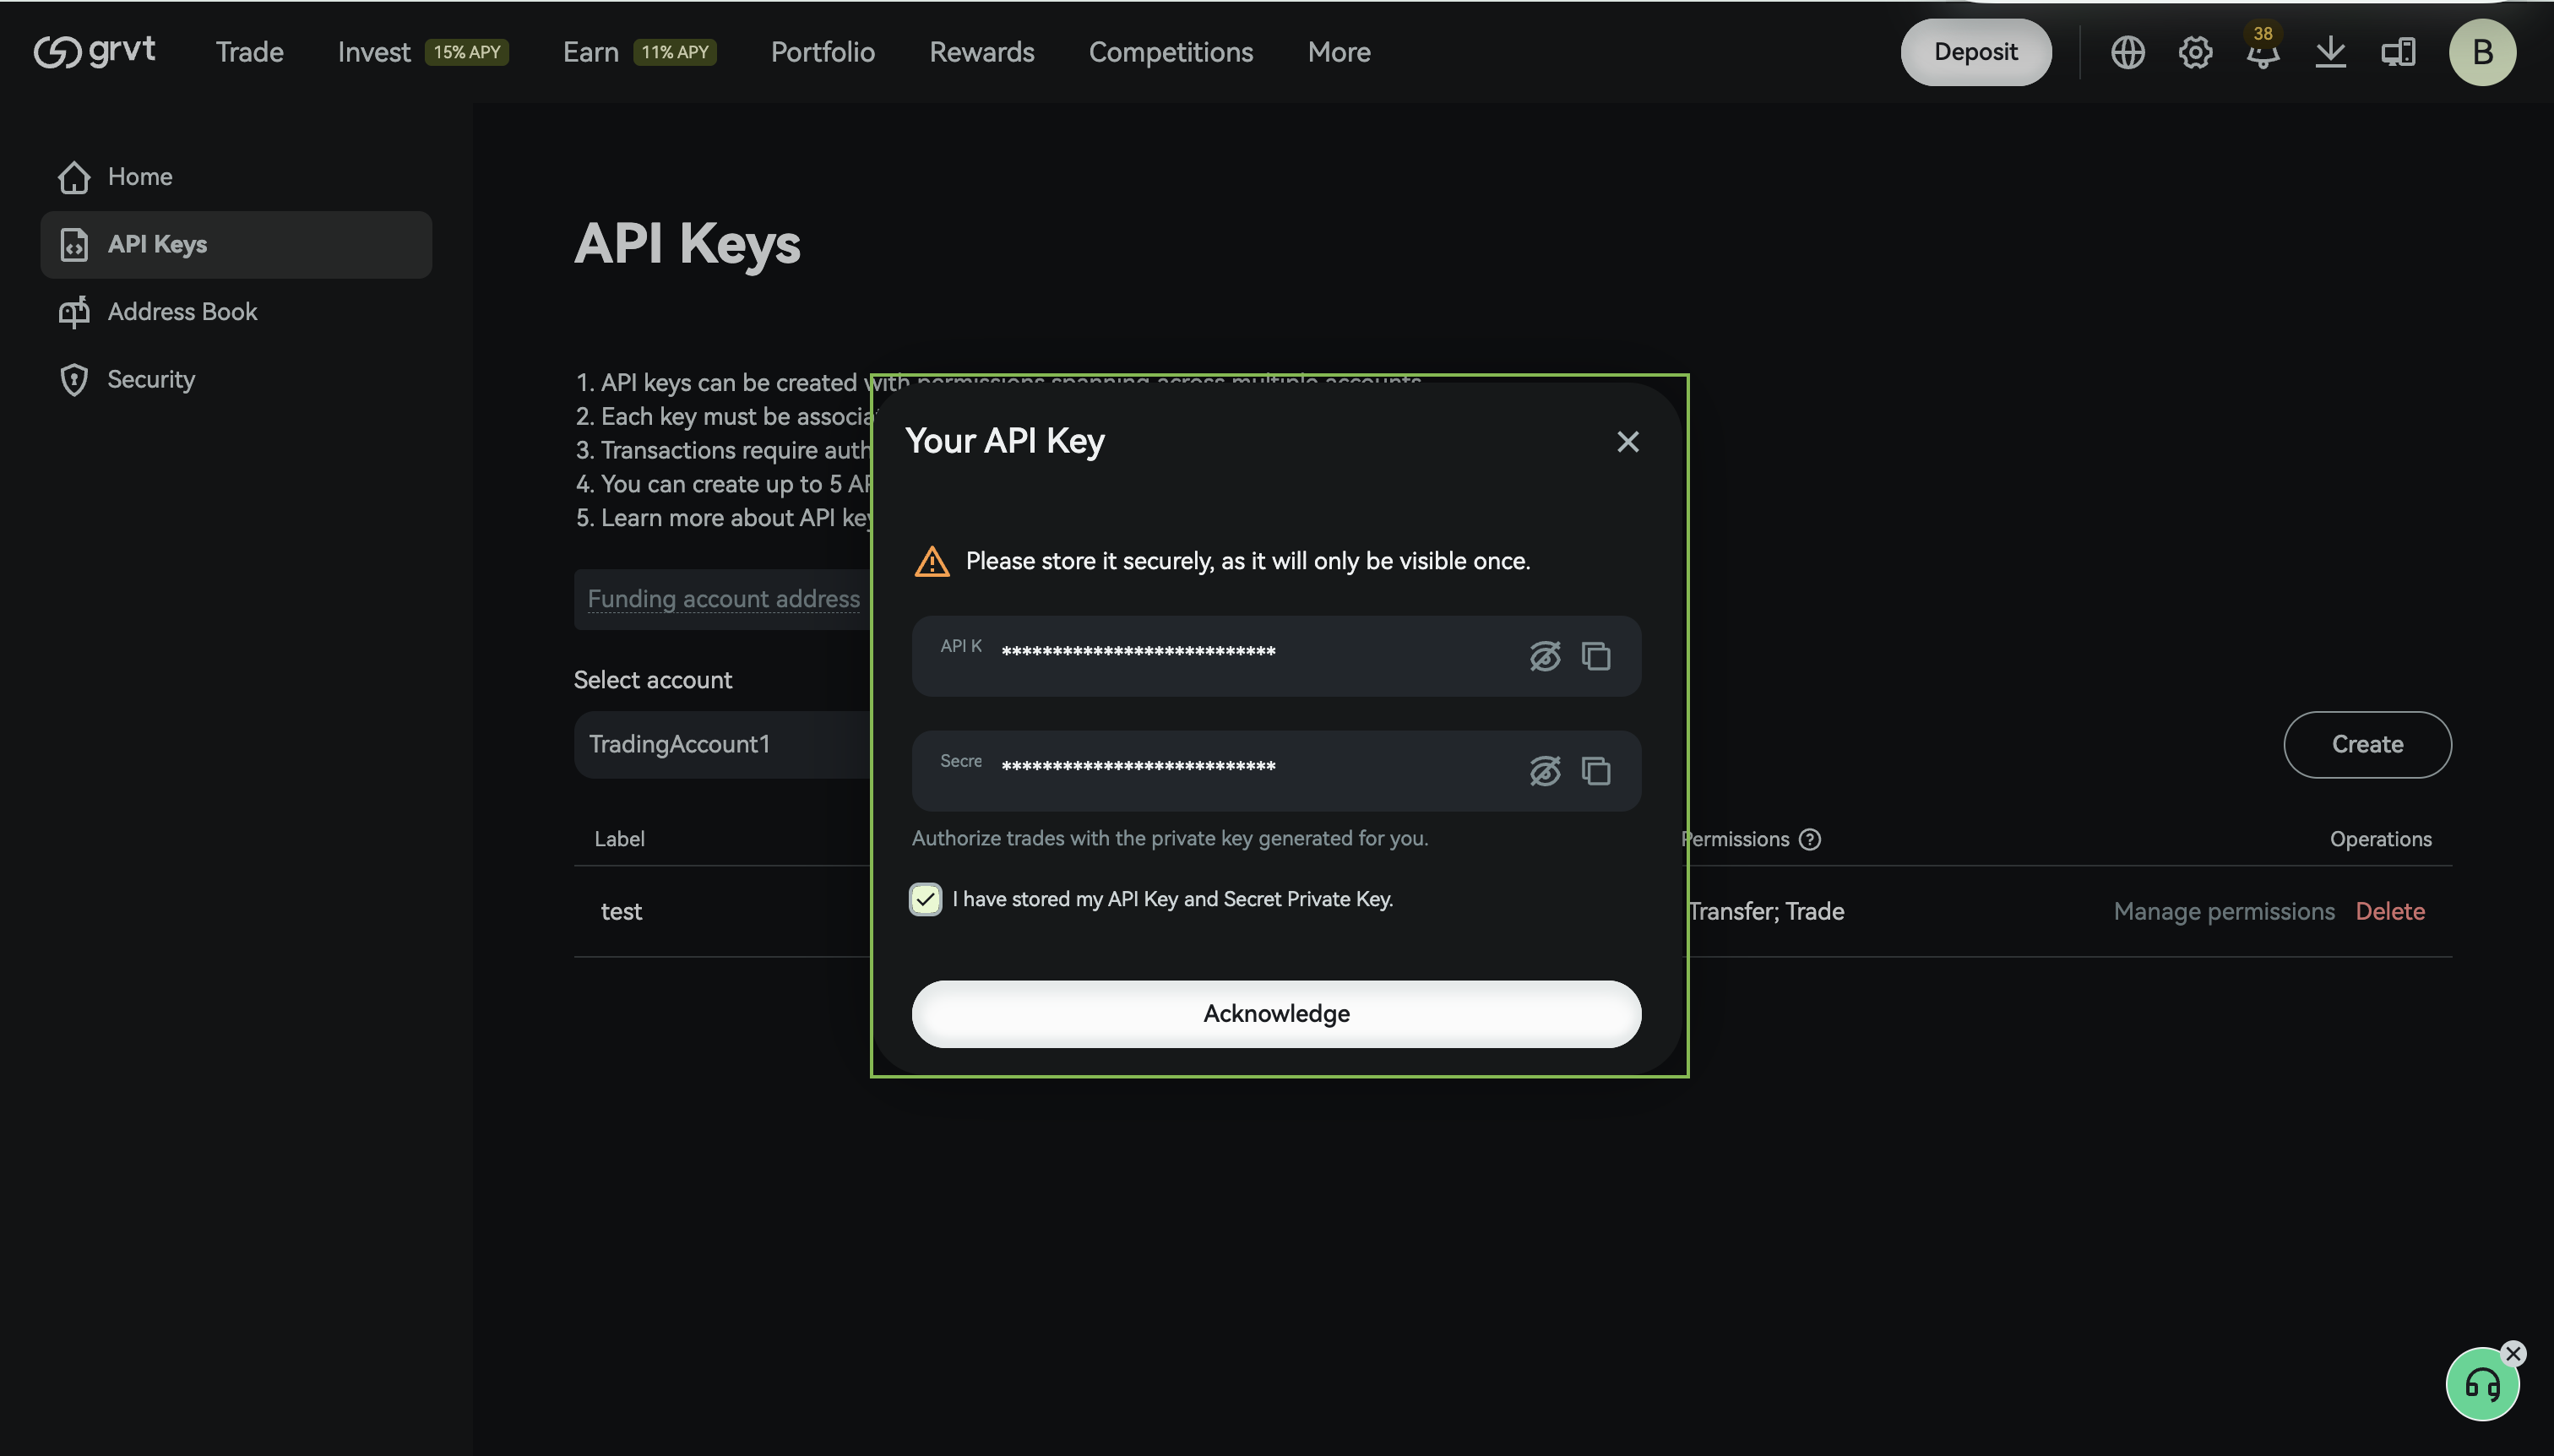
Step 3: Create API Key
Create an API Key here.
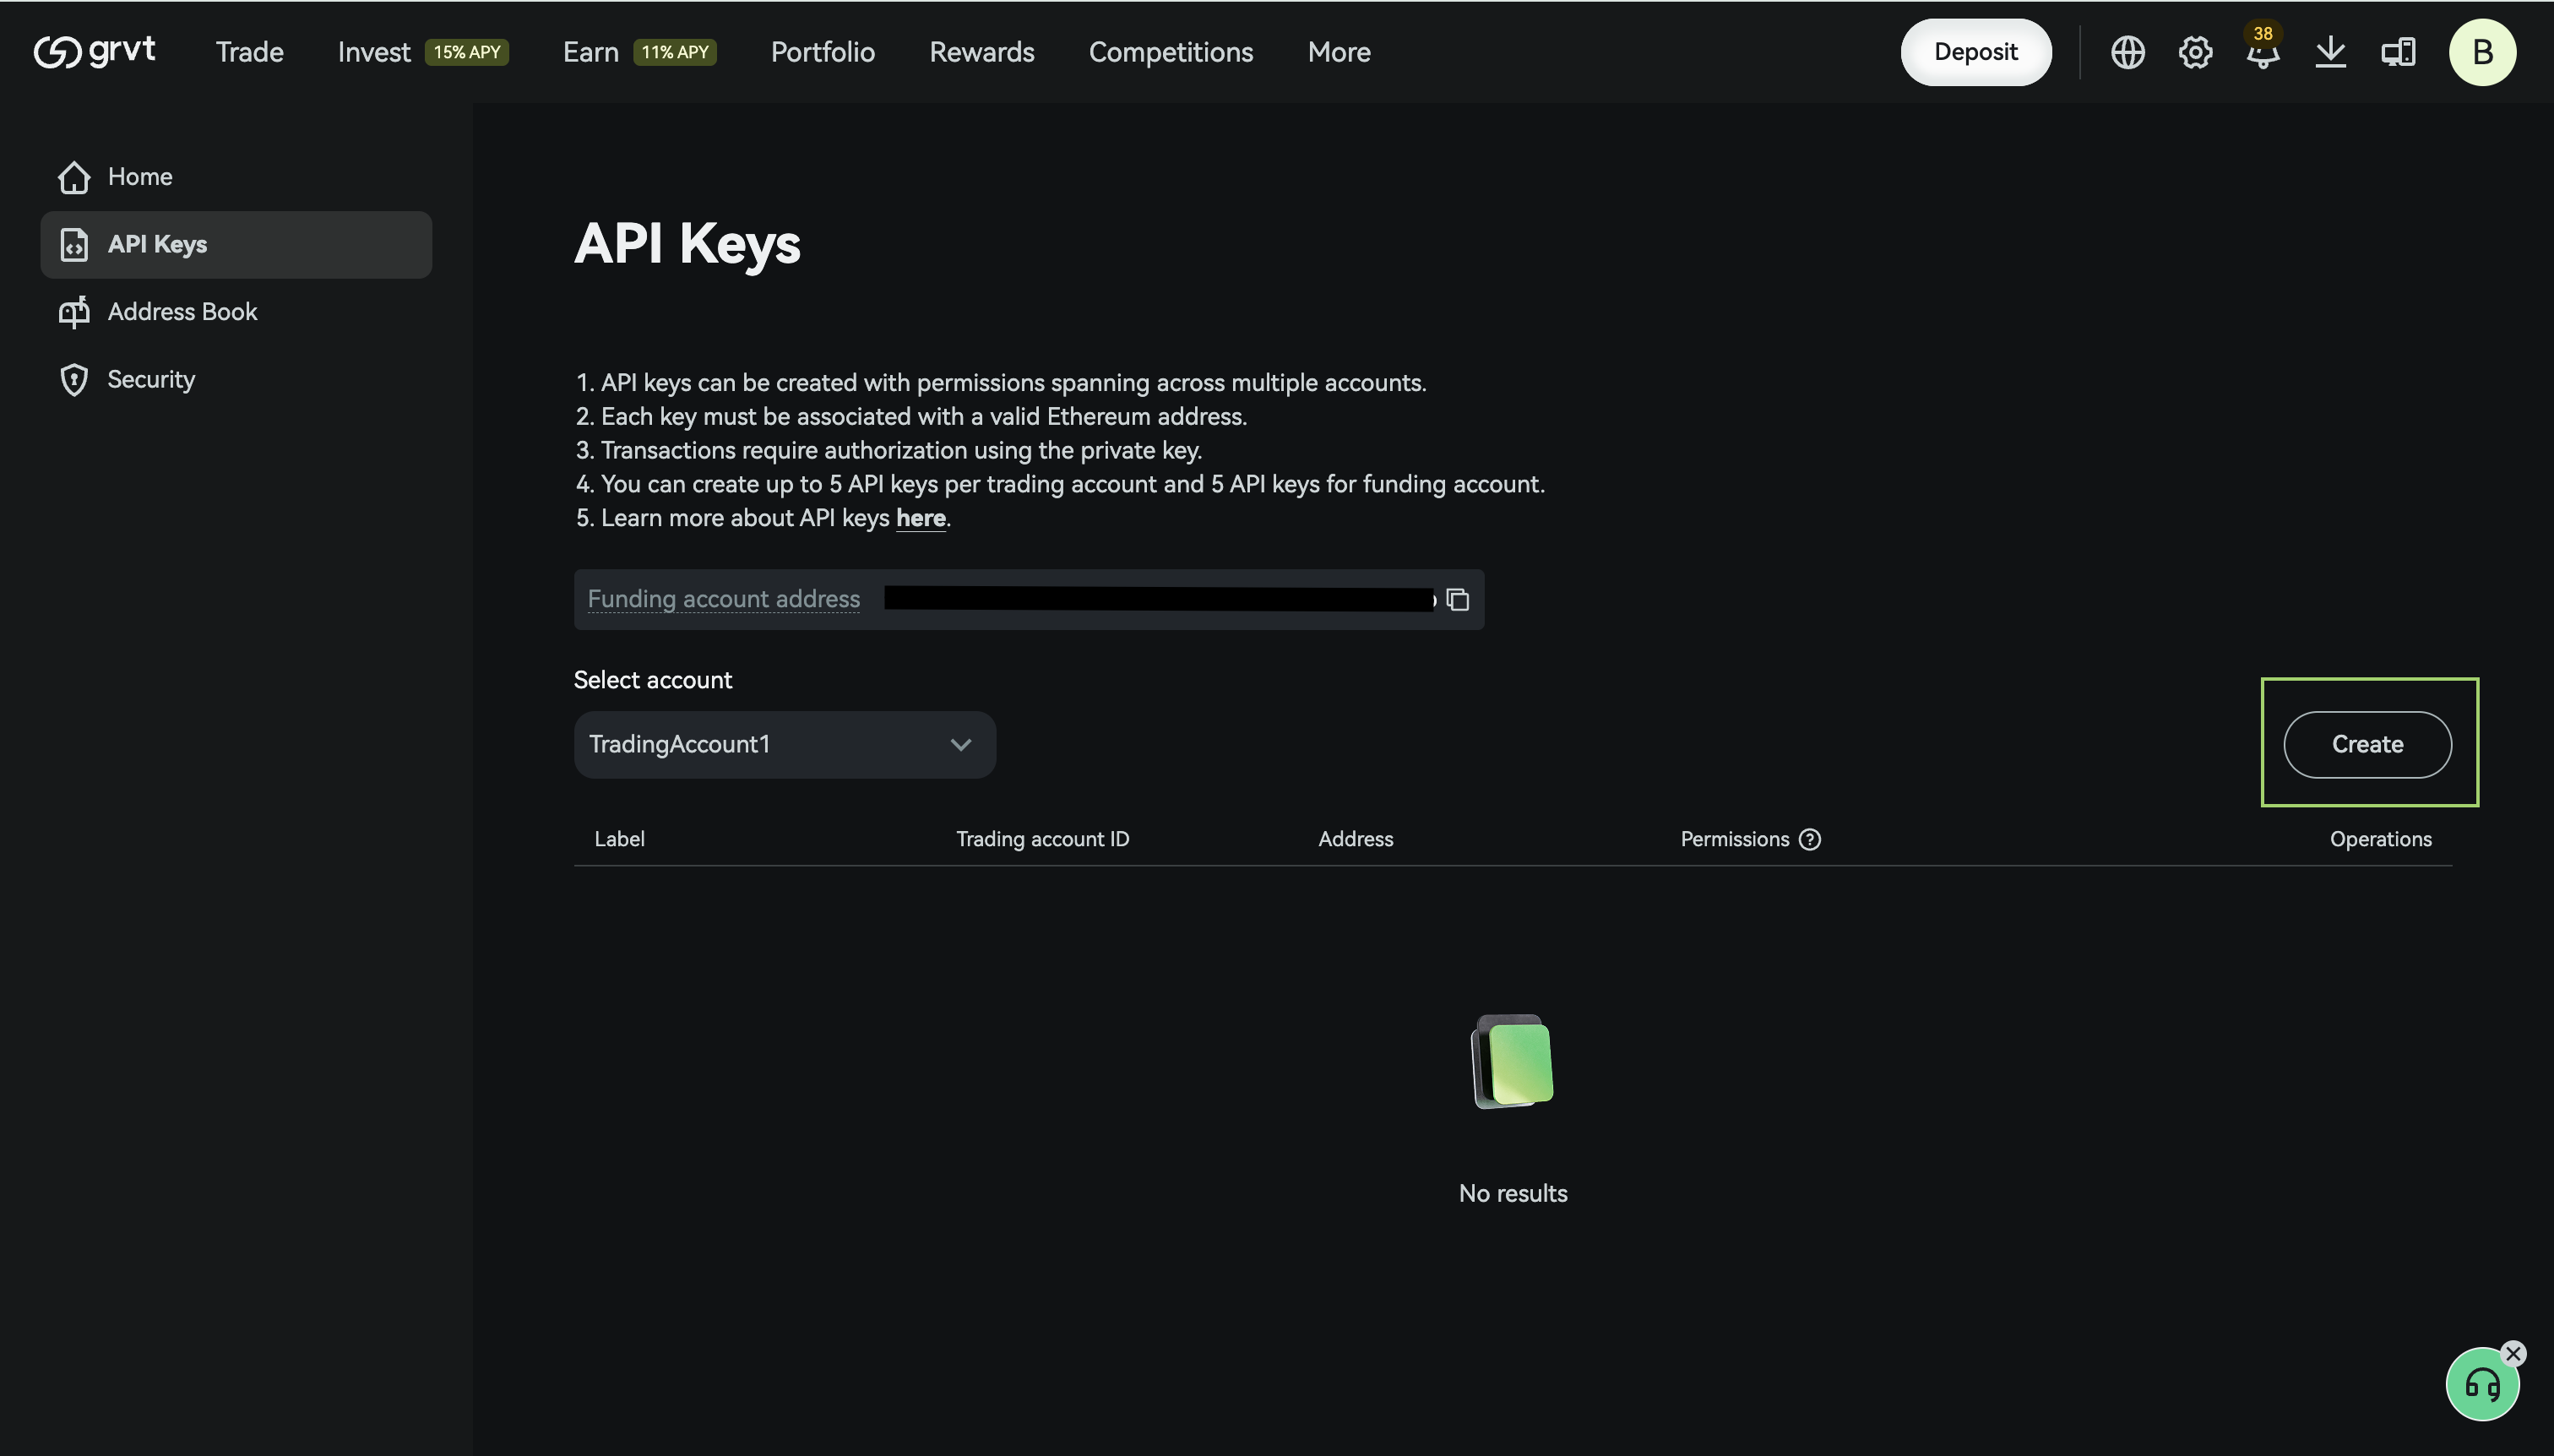
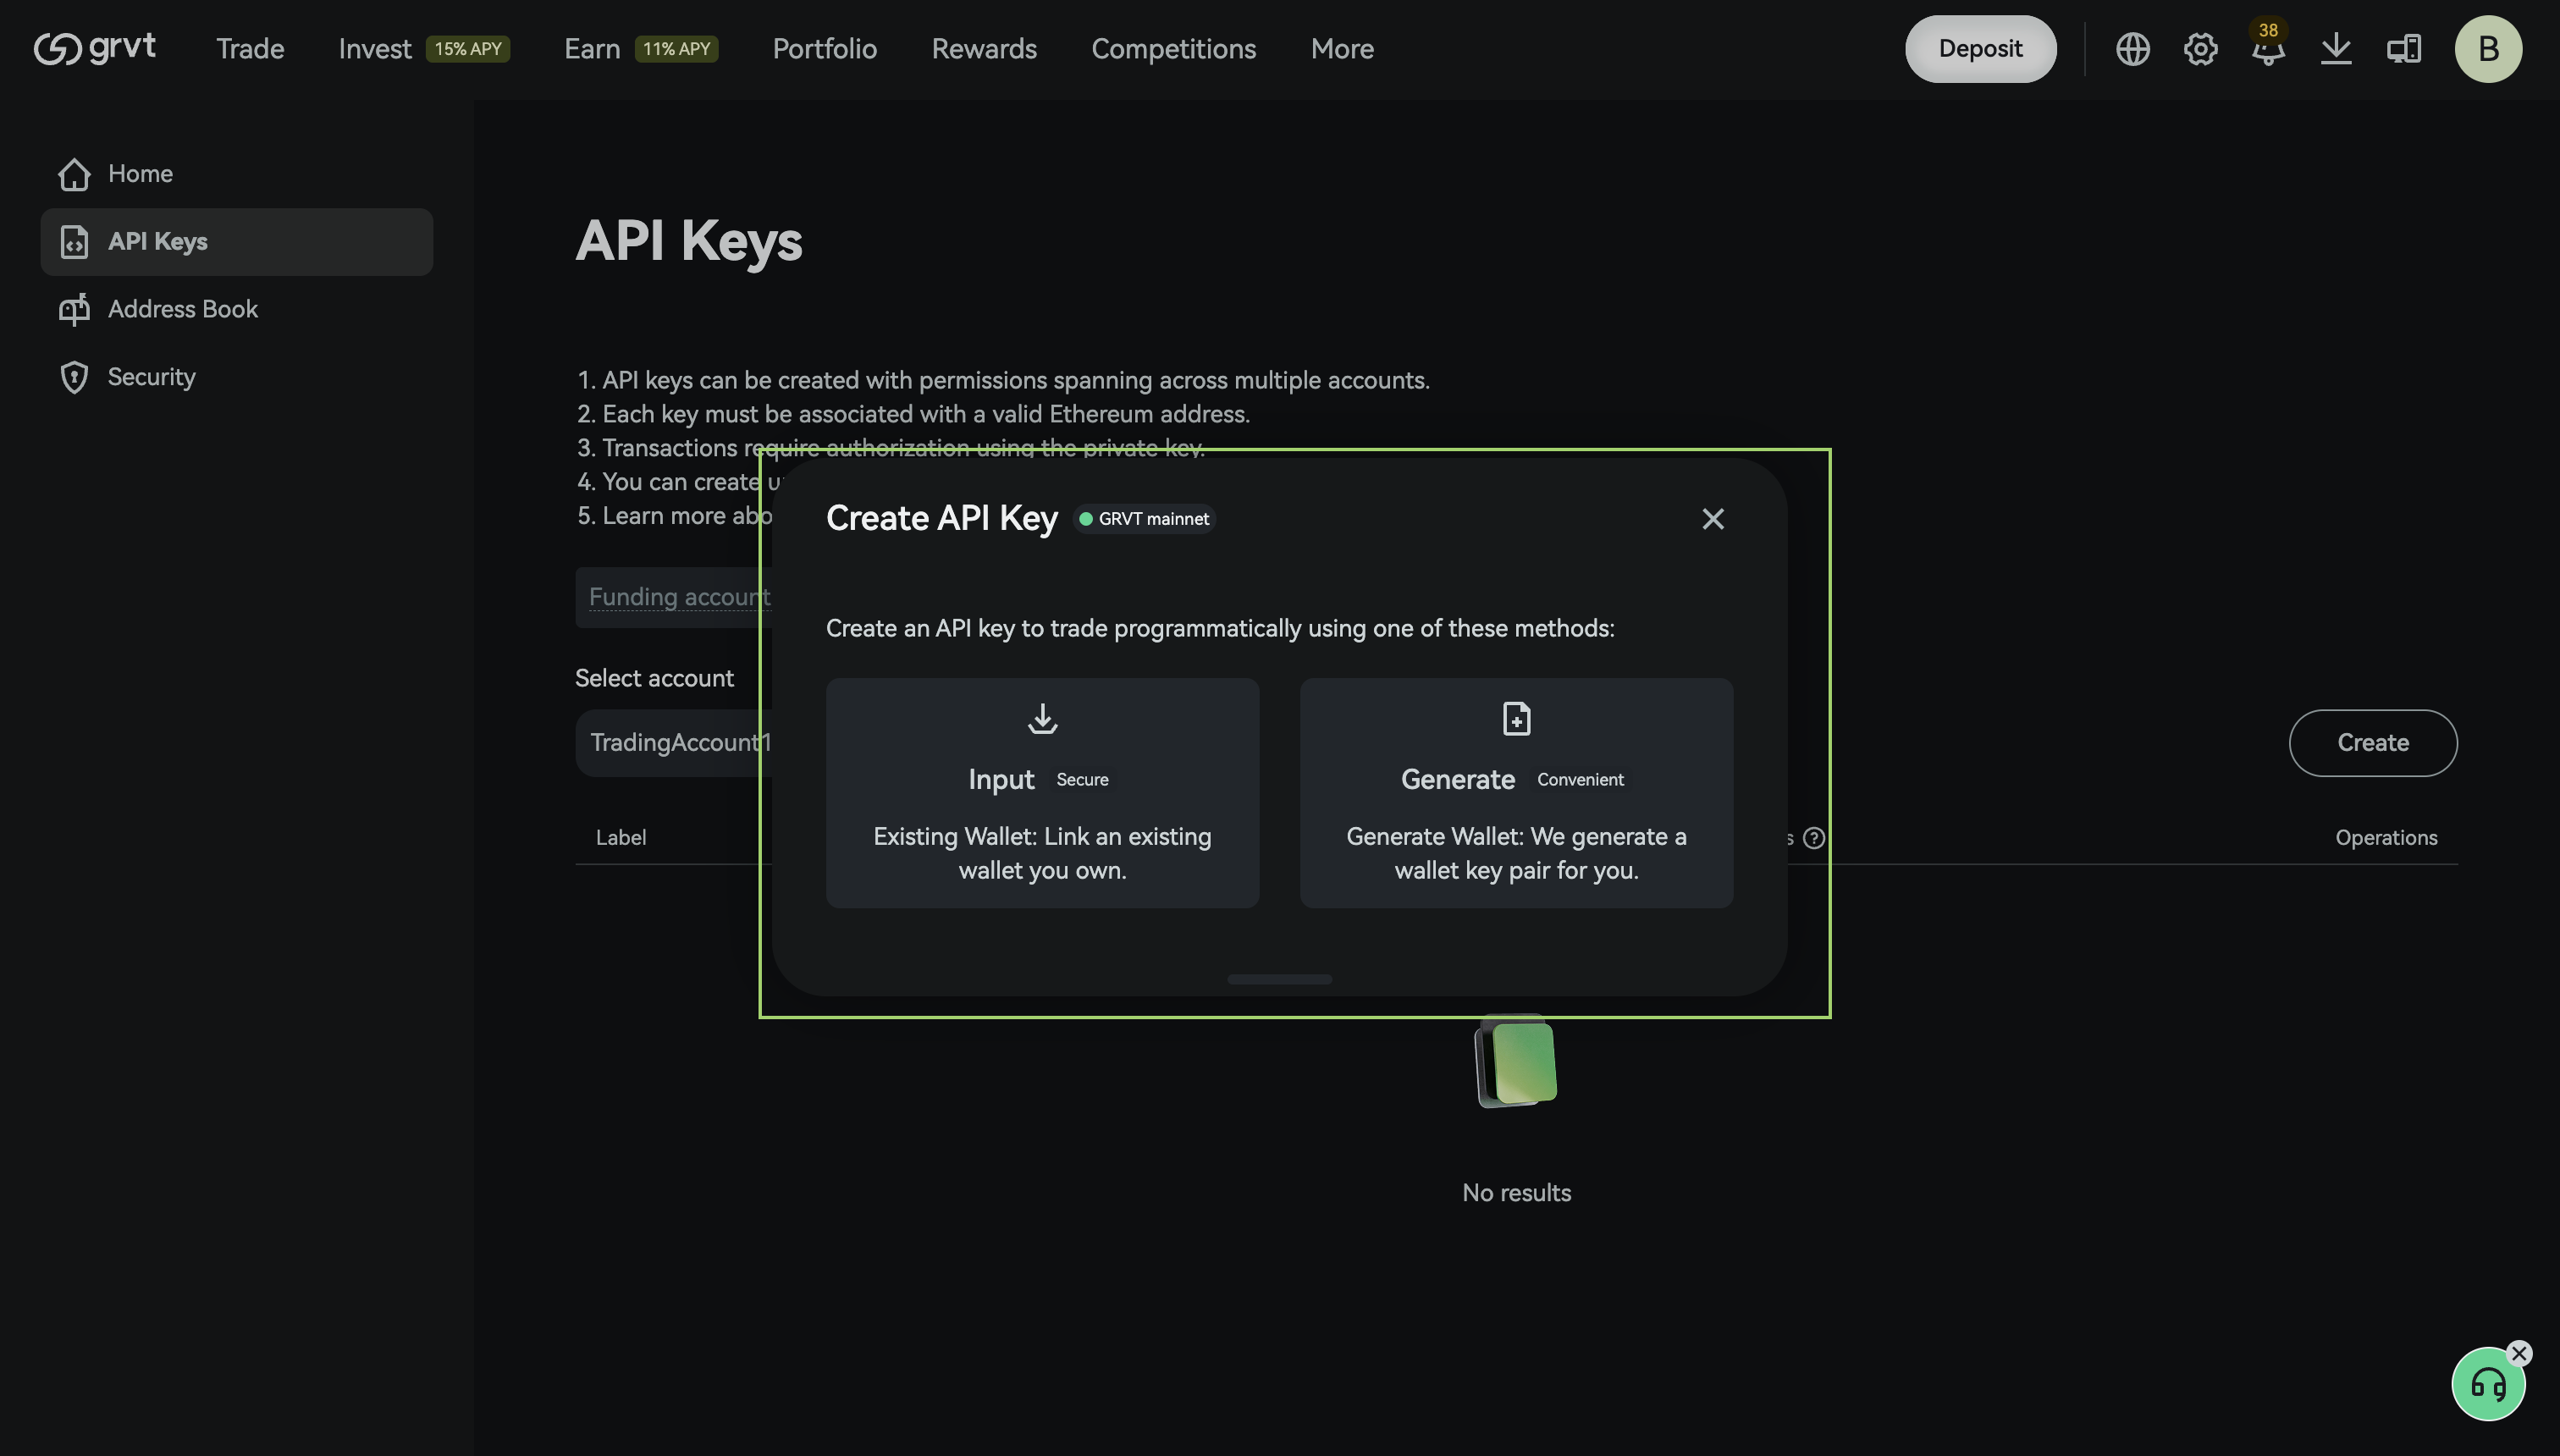 You can select different permissions while creating your API key.
Step 4: API Docs Auth
Authentication
GRVT supports two authentication methods: API Key and Wallet Login (EIP-712). Both return a session cookie used to authenticate subsequent requests.
API Key Login
Provision an API key via the GRVT UI.
# These are the variables you will need to set manually
GRVT_API_KEY="<insert_key_here>"
GRVT_SUB_ACCOUNT_ID="<insert_sub_account_id_here>"
Then, choose the environment you want to authenticate against.
# staging
GRVT_AUTH_ENDPOINT="https://edge.staging.gravitymarkets.io/auth/api_key/login"
# testnet
GRVT_AUTH_ENDPOINT="https://edge.testnet.grvt.io/auth/api_key/login"
# prod
GRVT_AUTH_ENDPOINT="https://edge.grvt.io/auth/api_key/login"
Now, let’s authenticate and retrieve both the session cookie and the X-Grvt-Account-Id header value that you’ll need to access any endpoints requiring authentication.
echo $GRVT_API_KEY
echo $GRVT_SUB_ACCOUNT_ID
echo $GRVT_AUTH_ENDPOINT

RESPONSE=$(
    curl $GRVT_AUTH_ENDPOINT \
        -H 'Content-Type: application/json' \
        -H 'Cookie: rm=true;' \
        -d '{"api_key": "'$GRVT_API_KEY'"}' \
        -s -i
)

GRVT_COOKIE=$(echo "$RESPONSE" | grep -i 'set-cookie:' | grep -o 'gravity=[^;]*')
GRVT_ACCOUNT_ID=$(echo "$RESPONSE" | grep 'x-grvt-account-id:' | awk '{print $2}' | tr -d '\r')

echo "$GRVT_COOKIE"
echo "$GRVT_ACCOUNT_ID"
On success, a session cookie (gravity=...) is set and the response body contains:
{
  "status": "success",
  "location": "",
  "funding_account_address": "0xYourFundingAccountAddress",
  "sub_account_id": "123456789"
}
sub_account_id is optional — present only when the API key was generated from a Trading Account.
Wallet Login
Authenticate using your EVM signing wallet via an EIP-712 typed-data signature — no API key required.
POST /auth/wallet/login
Sign the following struct with eth_signTypedData_v4:
WalletLogin(address signer, uint32 nonce, int64 expiration)
| Field | Type | Description |
|---|---|---|
signer |
address |
Your registered EVM wallet address |
nonce |
uint32 |
Random client-chosen number. Each (address, nonce) pair can only be used once. |
expiration |
int64 |
Unix timestamp in nanoseconds. Must be in the future, max 5 minutes from now. See Server Time. |
Request
The request uses the common Signature DTO shared across all signed endpoints.
{
  "address": "0xYourWalletAddress",
  "signature": { "signer": "0xYourWalletAddress", "v": 27, "r": "0x...", "s": "0x...", "nonce": 305419896, "expiration": "1772159636314000000", "chain_id": "326" }
}
Response
On success, a session cookie (gravity=...) is set — the same GRVT_COOKIE used by API Key Login — and the response body contains:
{
  "status": "success",
  "location": "",
  "funding_account_address": "0xYourFundingAccountAddress",
  "sub_account_id": "123456789"
}
sub_account_id is optional — present only when the API key was generated from a Trading Account.
For a full example, see the Authentication page.
The above section is inlined at every authenticated RPC & WS.
Follow the instructions to authenticate using your API Key.
Step 5: API Docs (Try It Out)
At every part of our API Docs, there's a working example you may use to test things out. You should be all set now! But don't hesitate to contact our team if you need any further help!

Step 6: Order Creation
This is the most frequently asked question.
CCXT SDK
We have a CCXT SDK available for usage. You can check the step by step guide in the CCXT integration section.
Chain IDs
| Network | Ethereum L1 Chain ID | GRVT L2 Chain ID |
|---|---|---|
| Sepolia (Stg) | 11155111 | 327 |
| Sepolia (Testnet) | 11155111 | 326 |
| Mainnet | 1 | 325 |